It took quite a while to get here what with Covid 19, but it came a couple of days ago. I am as pleased with it as I thought I would be when I mentioned it in this post back in April. The tent is very well made and well thought out. For most people it will be big enough for two people and will certainly be a palace for one. It really does only weigh 320 grams including the guys! It is just the tent you need if you feel you can’t make your own as I do, eg: Deer Hunter’s Tent #2
I will make a few improvements to mine. They are all things you could do with a little bit of competent hand sewing which will make the tent even better. I use the word ‘tent’. This has been the normal word for a folding ‘roof’ you sleep under for thousands of years. I do not understand the absurd distinction between tent/tarp some wish to draw, insisting that if it does not have a floor or bug protection it is somehow not a ‘tent’. You can always simply add these features, or dispense with them.
A 25 gram piece of Polycro or space blanket material will make a good enough floor to keep your gear clean/dry. I will probably sew up a tapered floor for this one. It will be 4′ (120cm) wide at one end and 2/6″ (75cm) wide at the other and 7′ (210 cm) long. In the 1.1 oz/yd2 fabric I have it will weigh about 2 1/2 oz or roughly 75 grams including the hems and four tie outs (still keeping the total tent weight including pegs under 500 grams). Each tie-out can have a guy going out to the four corner tent pegs to keep the floor solidly located.
This size floor will be big enough to remain within the completely pegged down sides in heavy rain and allow enough space to lay approx 1″ sticks along just inside all four sides to prevent water from running onto it. It will keep me, my gear and a couple of dogs quite satisfactorily dry.
I find a (‘nano’) mosquito head net (at about 11 grams) is pretty much all I ever need for bugs/mozzies (and some repellent) as I normally camp in the cooler months rather than summer – and I go lots of places (like Fiordland) where the bugs are much worse than you have ever imagined!
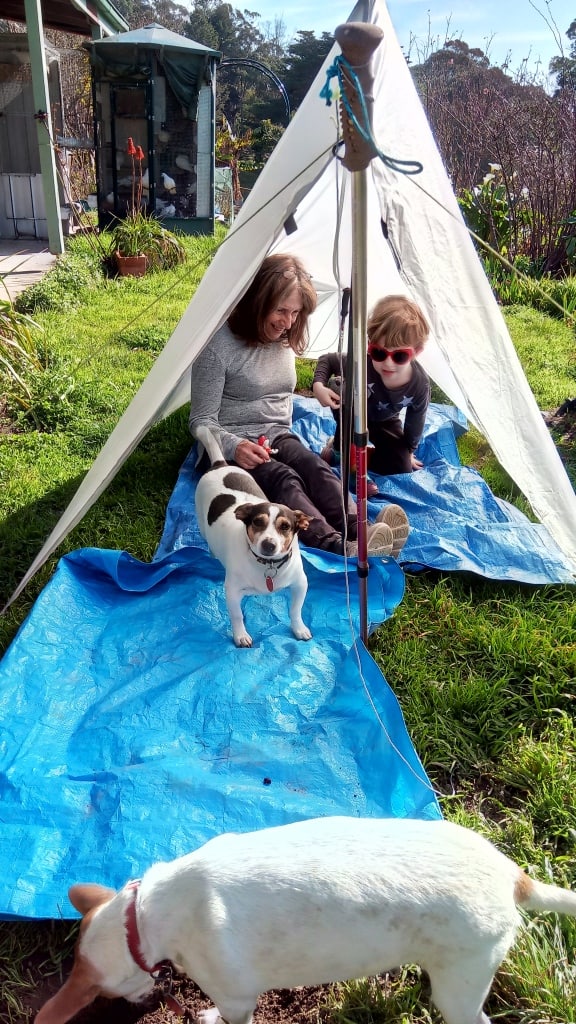
I want to have a fire out the front so I am adding a third ‘stick and an extra guy at the front so I can do so. You can see how this works in the set-up photos. I will also add a couple of reinforcing ‘patches’ inside where tops of the poles sit (as I usually use bush poles I cut with an ultralight saw weighing less than an ounce. This is much lighter than carrying poles – and there are plenty of sticks just lying about in the bush!
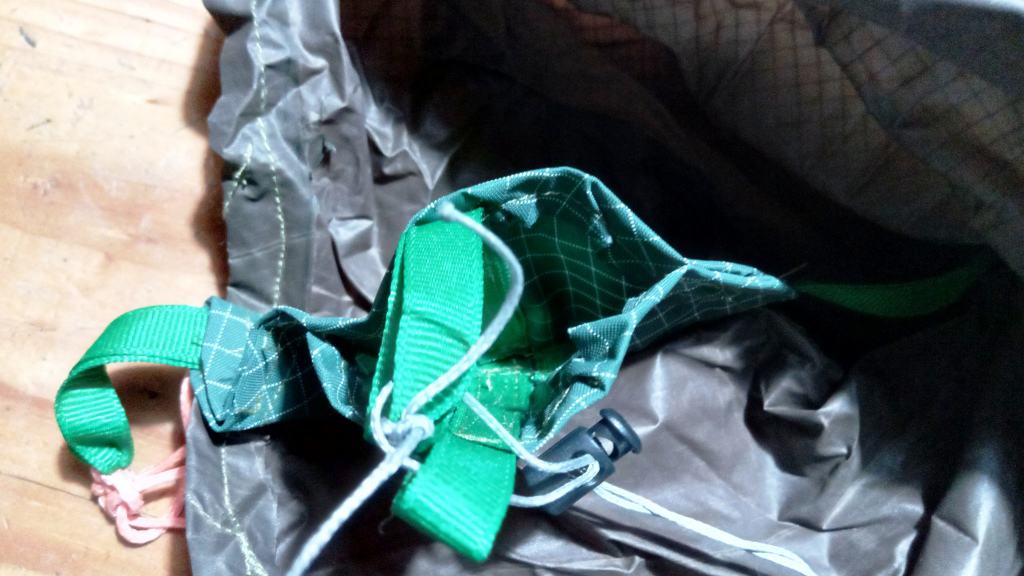
The reinforcing patches can also have tie-outs sewn to them which allow me to secure the poles to the tent (I find this useful in really windy weather) and to add a longitudinal clothes-line which I also find a useful feature when you have a fire out front to dry wet clothing.
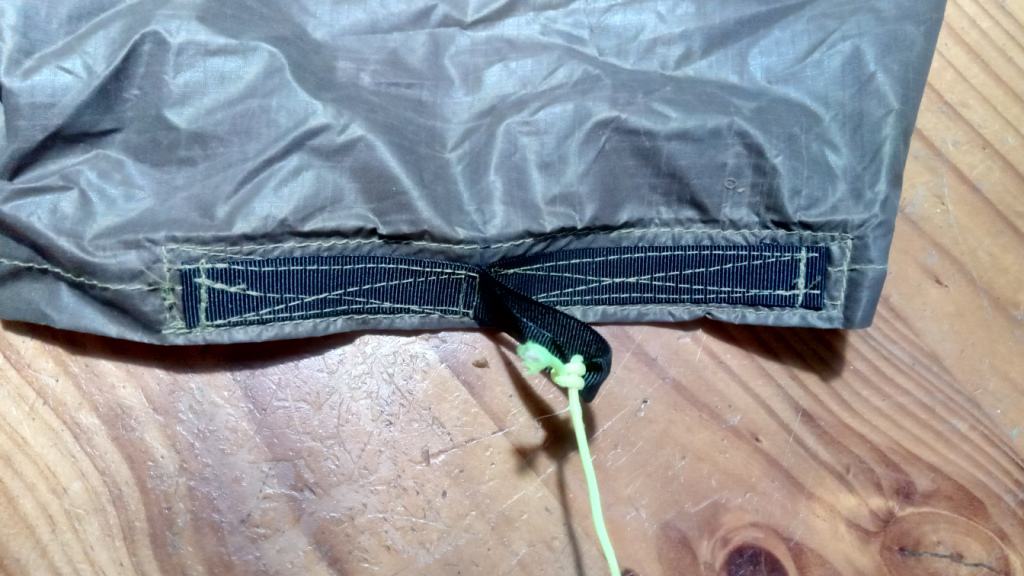
I will also add some extra tie-outs so I can really secure the shelter if it ever really blows up terribly. I will sew a centre tie out at the rear end and two extra side tie-outs each side. These (together with the two extra ones in the roof) should really cinch it down if I ever need to. The hems have been reinforced all around so that there are four layers of fabric there, so it will easy to sew the tie outs on as I do now – which works well. Like this:
And a reinforcing patch (or two) to take the top of the pole like this:
I have already added some extra (short) guys all around as ‘tent safety anchors’. I will explain how this works in another post but here is a bit ‘cut and pasted’ from another post to explain briefly:
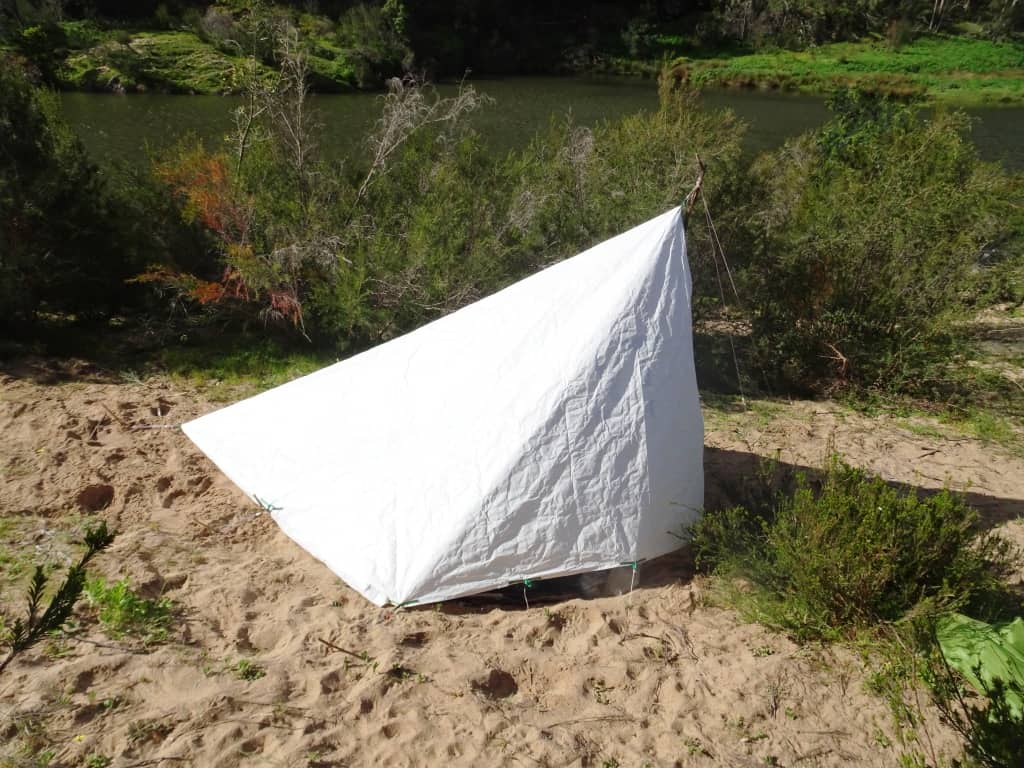
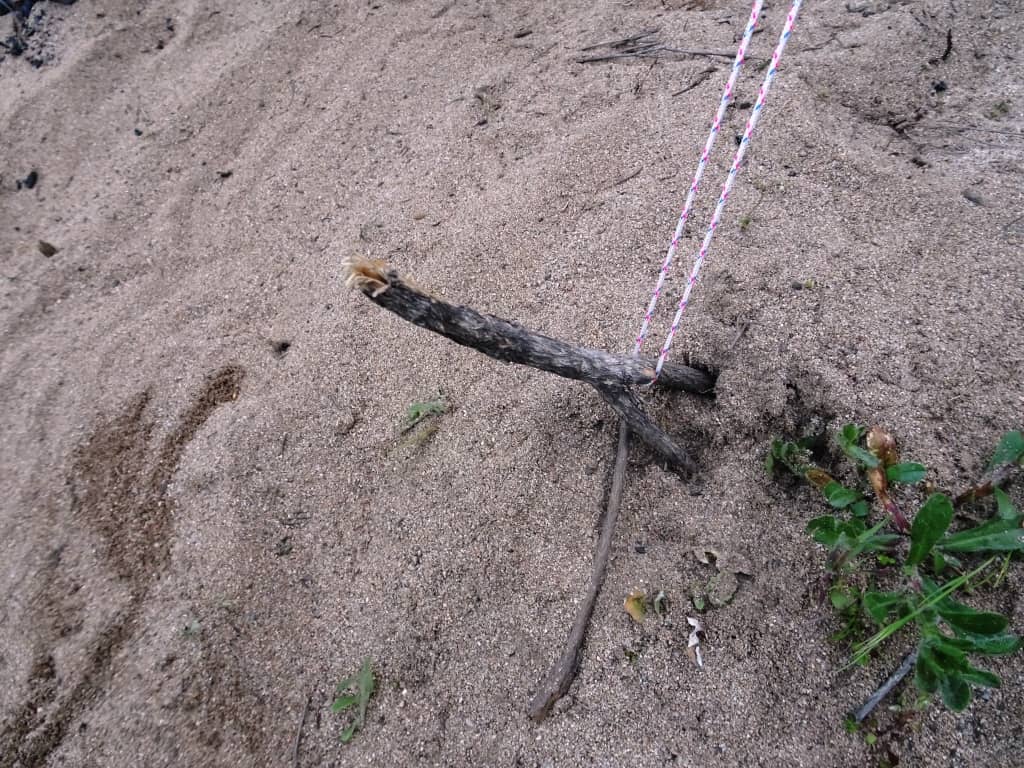
You don’t need to bring pegs or a pole. The bush is full of sticks which can be used instead. A foot long forked stick like this will give the tent better purchase especially in (horizontally) sand than any bought peg anyway.
Della, Honey and Milo think the tent is ‘pretty cool’!
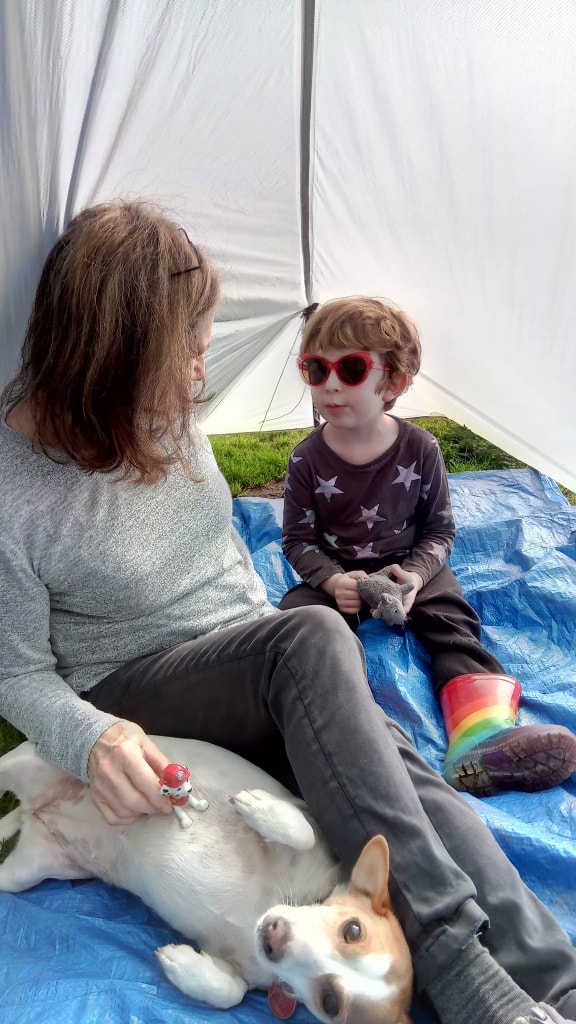
And so does Spot. That is a 6′ x 4′ poly tarp they are sitting on. You can see that there is plenty of room under the shelter of the roof to keep dry. There is at least a couple more feet either end of it which is still under the roof.
The third stick at the front is holding the ‘beak’ up and out to make it easier to get in/out and so I can peg the two attached guys outwards instead of straight ahead so I can have a fire out the front. (You don’t have to do this).
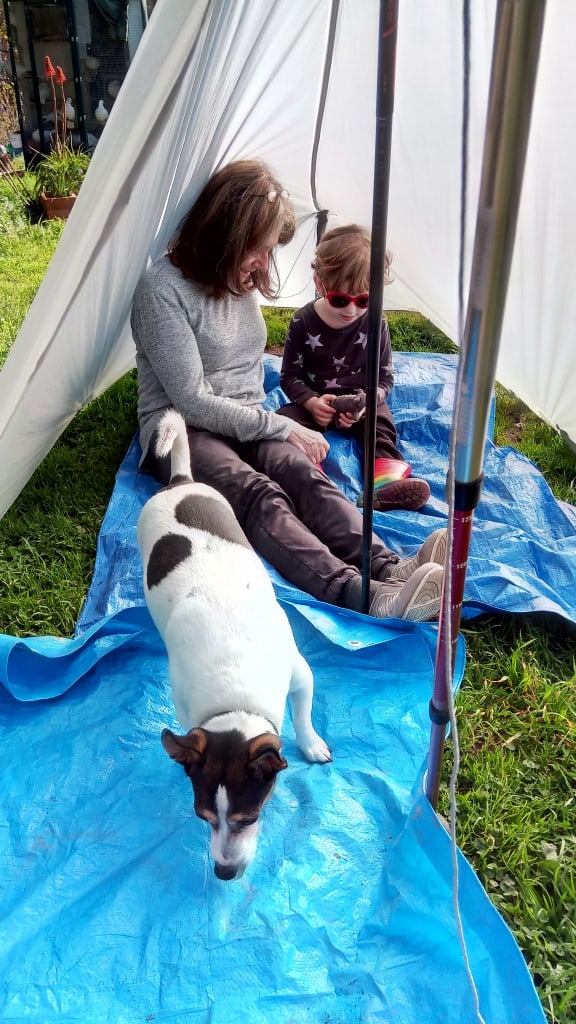
See how that works? I would have the (small) fire about where Honey (the white dog) is standing. I just sit on my Big Agnes Cyclone Chair with a warm back (no draughts) and a warm front, gaze out at the world, read a book, etc.
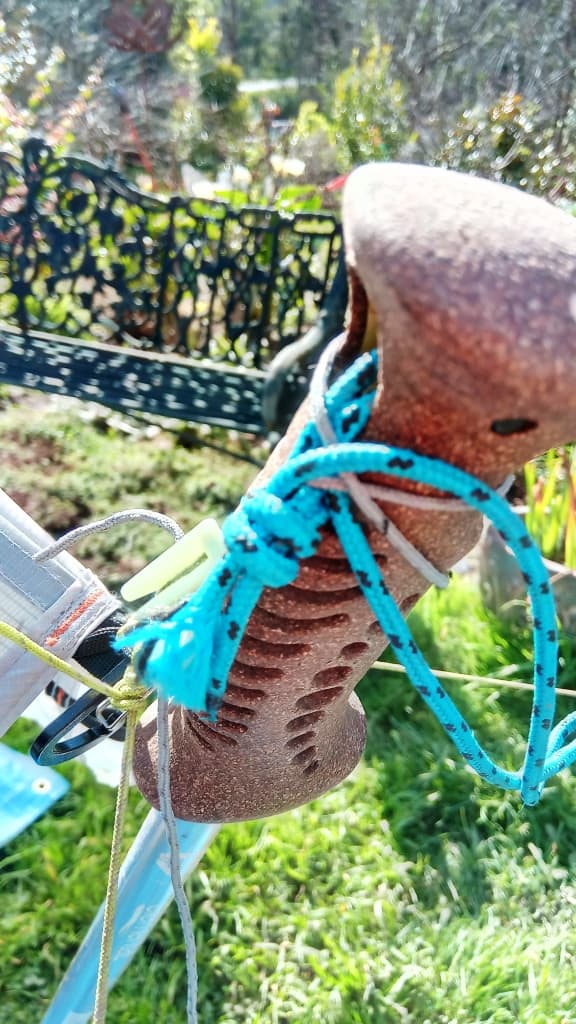
I have attached the third stick with a simple loop of cord and a micro cord lock like so (light coloured string). The carabiner came free. I haven’t any use for it at the moment.
The tie outs are really solid as is the reinforcing. They are not going to let go, nor is the tent going to leak or rip. Most come with their own adjusters. I would use this short guy as a safety anchor to prevent the peg through the black tie out from lifting in fierce winds. I always do this.
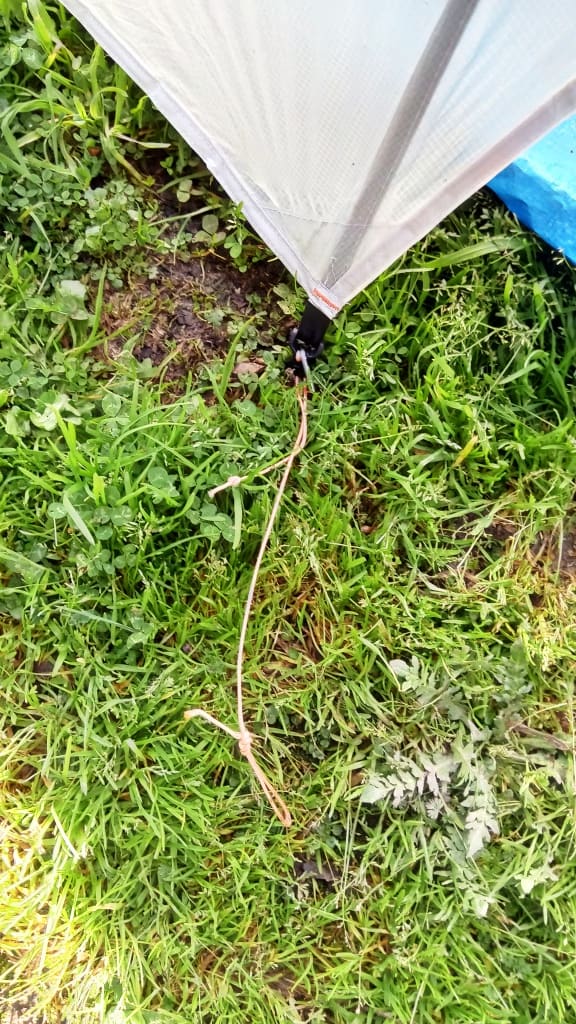
I have added a micro clam cleat to this one.
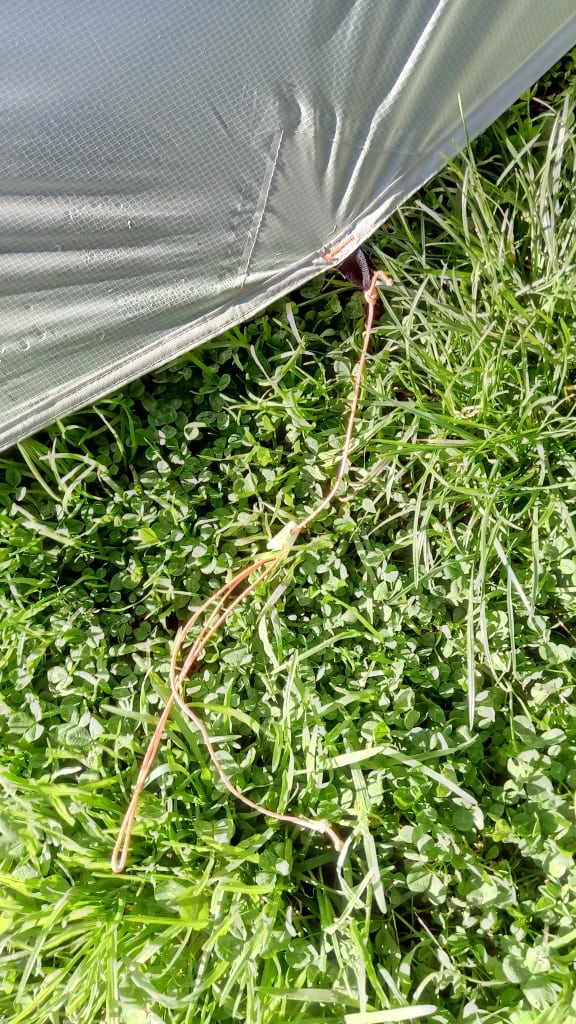
The tent stands up very nicely. It had been standing here for several days without any adjusting when I took the photos. During this time it had both rained heavily and blown a gale!
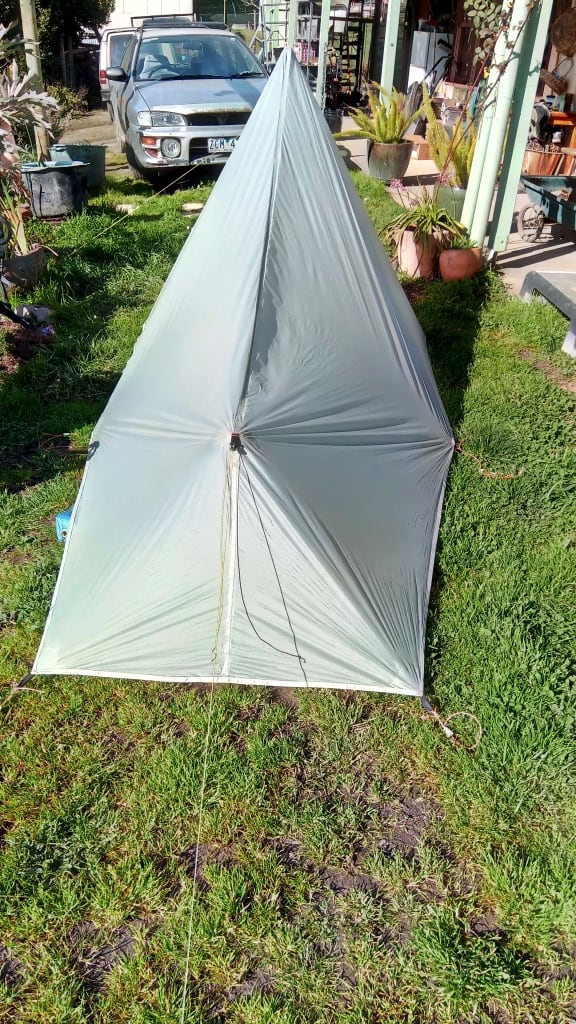
Side view.
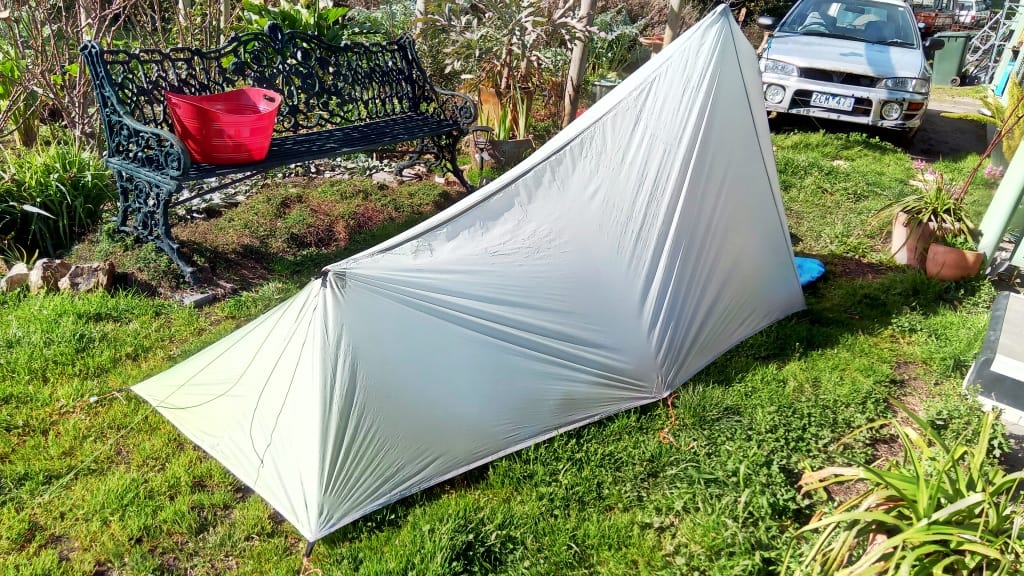
As it is open at the front I will add a tie out to the roof reinforcing patch inside where I can tie my raincoat hood. I will add a couple of tie-outs to the bottom edges (next to the zip) of my raincoat so can peg it out to the two front side pegs to pretty much close the door. I have done this before. It works!
I will also add two small 6″ per side pockets low down right near the front ‘door’ on either side for putting my (our) glasses, head torch, hearing aids etc in while I/we sleep. These add about 2 grams to a tent and a million dollars worth of convenience!
This tent is going to make a really excellent ultralight hiking/hunting setup. I don’t believe you can do better! There is just no need to spend more money. Save it for something else – like your retirement income as I have! Have fun!
Aricxi Tent available from Aliexpress. ($A51.36 March 2024)
See Also: Ultralight Ultracheap Rain Fly
If you need bug protection etc try these:
Do You Need a Bug Net or a Tent Floor
Cheap Ultralight Bathtub Floor
See Also Ultralight Hiking on a Budget and the links at the bottom of that page for many other budget hiking ideas.

Hi,
I don’t know if this site is still active or if you get notification or anything… But how much space is there under the tarp/tent? The Aliexpress site is kinda confusing when it comes to the total length.
I’d also appreciate if you could tell me how high is the lower side. I’m two meters tall and sleep on a 220cm long, 9cm thick pad. With my feet measuring 30cm, I need a solid 40-45cm of clearance there.
Hi Martin, I just had a total knee replacement so I can’t put it up at the moment to measure it. However my recollection was that it would be high enough. You can always erect it off the ground a bit too. Cheers, Steve.