I recently modified my Waratah Quilt and Zpacks Quilt so that they would better fit me, would be easier to enter and exit, and in the case of the Waratah be fractionally lighter as well.
I found Kam Snaps to be just the trick for these mods. As I said in that post I will be finding many many more uses for these wonderful gadgets.
These mods are amongst the easiest ‘sewing’ projects you could undertake, so they might be a good place to start before you launch into making your own tents, backpacks, sleeping bags, (hiking) clothes etc as I have done.
Such DIY is a wonderfully rewarding recreation (as well as saving money and gaining confidence and independence) such that I heartily recommend it.
You might even go on to build your own house (with your own hands) as we have done – and maybe be free of debt and pretty near self-sufficient as we are too.
Both of these quilt have existing Kam snaps at the top opening where your head comes out. You can (if you are as short as me anyway) leave these done up and just slip your head under the snapped together edges so your head emerges from the hole where it is supposed to be then pull the drawstring there tight if you want to. .
So no changes were made there – though I notice that Zpacks have only one snap there (unreinforced) as against the Waratah’s two (reinforced), so I may be making a change there in future if the Zpacks one starts to suffer as it may..
The Zpacks quilt is sewn together at the bottom whilst the Waratah has a small zip plus a draw string which I think is a better (though no doubt slightly heavier) idea as it allows you to open the quilt out completely when you want to – so you could use it as a bed quilt if you wanted to, which would save you money and having to find somewhere to store it besides.
Neve gear also have a Feathertail Quilt which is sewn up at the bottom in the same fashion no doubt to save that small amount of weight. I would probably opt for the Waratah in the 950fp down instead if I had my druthers again though for the above reason.
I have thought of an idea for comparing the insulative abilities of these various quilts (assuming that they are about the same size otherwise) since it is after all the cubic inches of or total quantity of trapped air which ascertains the insulative ability of a quilt/sleeping bag.
So the simple method is to just multiply the ‘fp’ number by the down weight and to decide that the greater number (of cubic inches) would imply a greater insulative ability.
So, for example The -2C Waratah (I have – A$419 August 2024) has 470 grams of down (divided by 28.5) = 16.49 oz times 850 fp = 14017 cu in of insulative ability.
I should have bought the Waratah -2C quilt with 420 grams (14.73oz – A$499) of 950fp = 13999 cu in of insulative ability and a saving of nearly two ounces or 50 grams.
This compares with the Feathertail Quilt (A$490 August 2024) which has a total weight of 570 grams (as compared with my Zpacks one at 529 grams) and has 390 grams (13.68 oz) of 950 fp down =12999 cu in of insulative ability. The Feathertail is 60% cheaper and yet warmer, though it weighs a trifle more.
The Zpacks quilt (US$439 August 2024) I have has 387 grams (divided by 28.5) = 13.7 oz times 900 fp = 12330 cu in- so the -2C Waratah is warmer than the -7C Zpacks – which it feels to be too and much better value as well.
The Aegismax Twilight quilt has 350 grams (divided by 28.5+ = 12.28 ozof 800 fp down = 9824 cu in of insulative ability.
The Paria Thermodown Quilt (US$159.99 August 2024) has 16 oz of 700 fp down = 11200 cu in of insulative ability. Very good value.
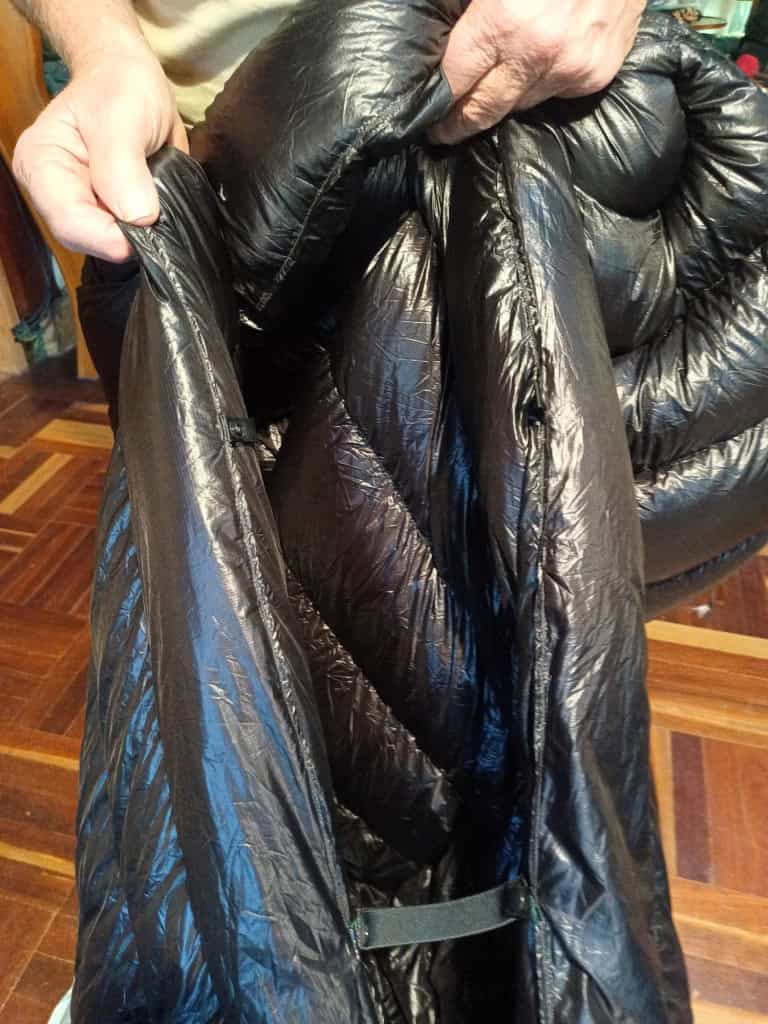
The middle closure on the Zpacks quilt had just two snaps which would be fine if you were slimmer as well as younger and more lithe. One try out and I could see the material beginning to stretch there so that I would eventually have most likely torn it.
I added another two pieces of gross-grain plus Kam snaps about 8-10″ further down the quilt plus a short length of elastic to make sure it had some ‘give’ This may mean that the quilt does not wrap around my upper body quite so well but it will make sure that I do not tear it in future and it makes it easier for me to enter/exit it.
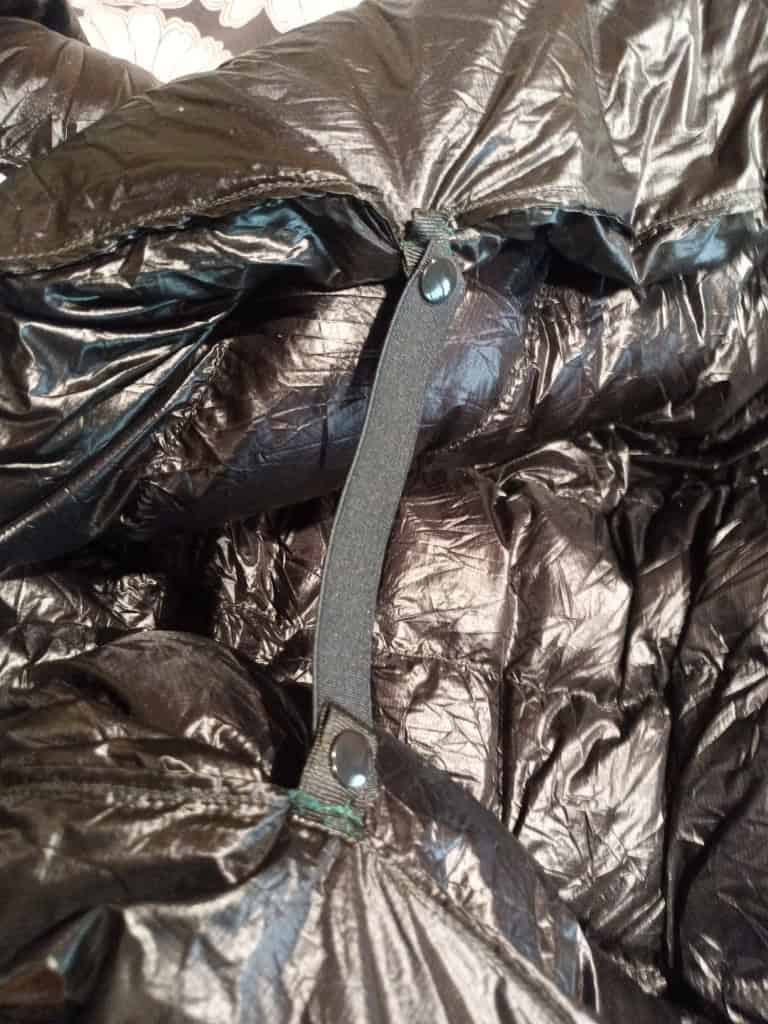
Here you can see the original Kam snaps and the two I added.
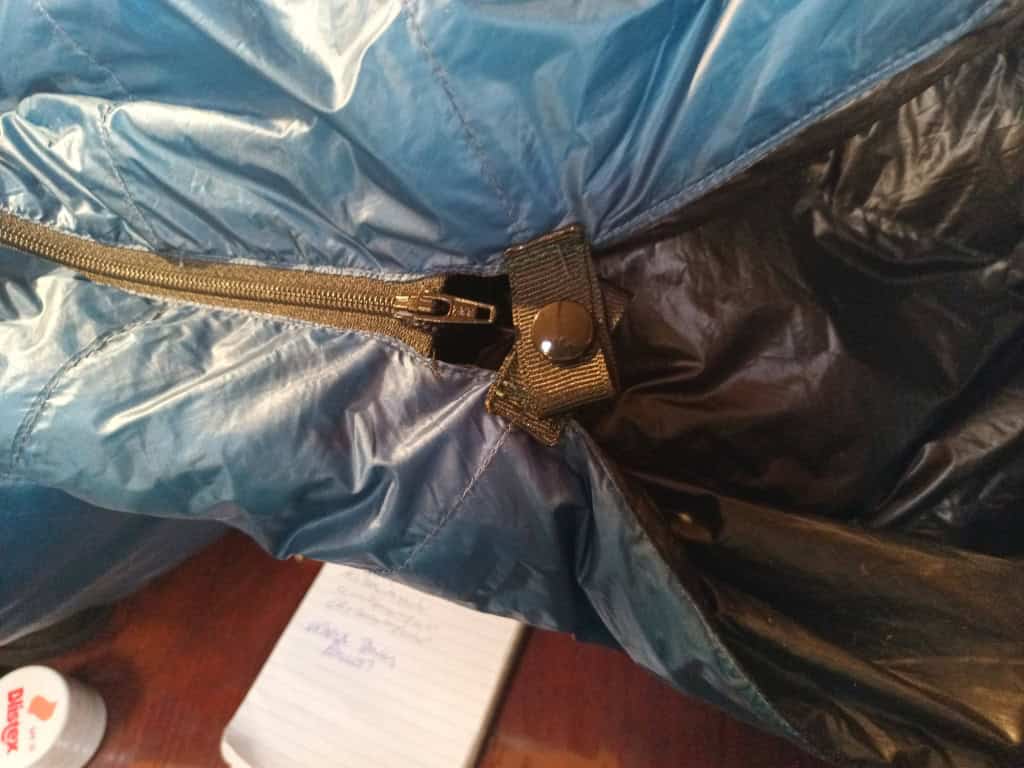
The zip on the Waratah quilt wanted to work undone so I added a Kam snap closure just above it as you can see here.
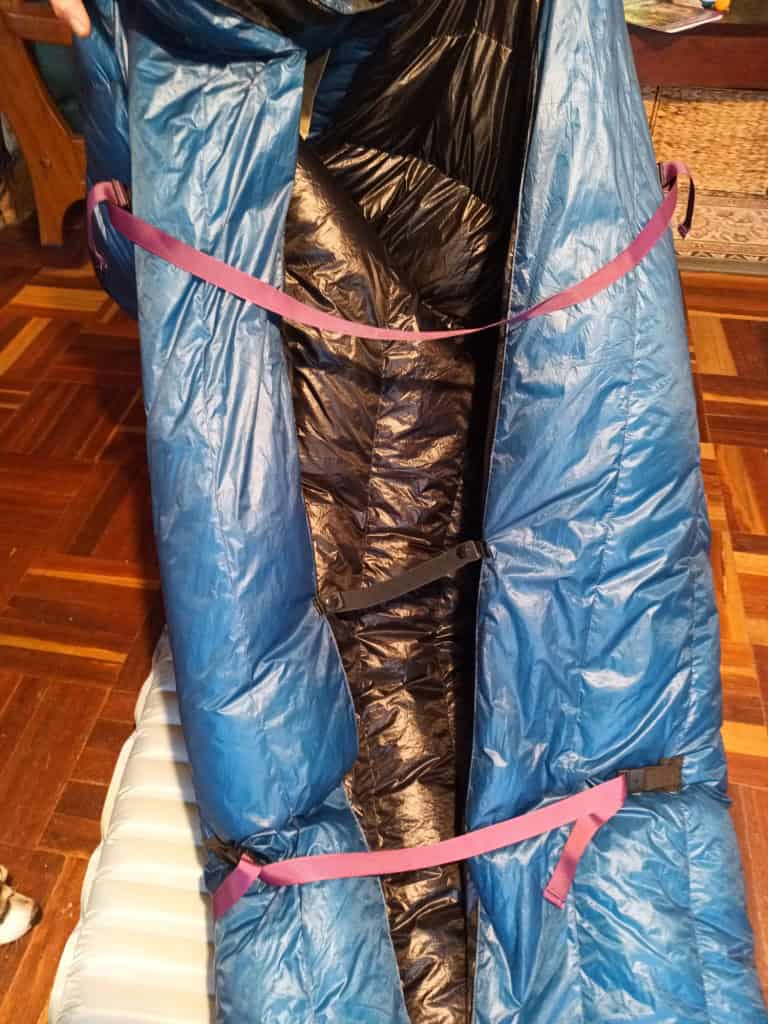
My first mod was to replace the fairly heavy elastic strapping (intended to fit under the sleeping mat (so making entering and exiting more difficult) with two 3/4″ gross grain ribbons, as shown.
These both sat above the mat (instead of below) and were quite easy to get into and out of (and were much, much lighter and more foolproof than the elastic) – but I worked out they could just be replaced by a single elastic strap about mid-way as shown, so I will now take them off.
I may add a second one about where the lower ribbon now sits, if needed.
I will also be replacing the heavy drawstrings at each end with much lighter cord and cord locks too. This will save a few more grams. I would think my mods will save nearly 100 grams overall.
Hi Steve,
Really enjoy the website and the information provided. It has definitely assisted in altering my gear choices for hiking trips. Regarding the Waratah quilt I went through this decision a number of months back. But couldn’t justify the additional $90 for a weight saving of 50 grams. Sometimes the cost / weight benefit comes into play as well.
Cheers Kev.
Thanks for the praise Kev. I appreciate it. As to your second comment, you’re definitely right – why I often recommend cheaper options as in my post https://www.theultralighthiker.com/2024/03/01/the-big-four-on-a-budget/ Mind you I have managed to shave a few grams off the 850 fp Waratah quilt anyway. You will see that in that post I suggested the Mountain Dream down bag for $57! Cheers, Steve.