It costs nothing at all (and only a couple of minutes) to create your own safe wood burning hiking stove which will cook you up a wonderful breakfast (below) in just a few minutes without having to carry any fuel at all (or any other stove) with you into the wilderness. A big saving.
You only need a few simple hand tools such as those pictured (or similar) which I’m sure you have in your kitchen or workshop. A can opener which will cut out the side of the can (not the top). A ‘church key’ such as used to be used for opening beer cans (Remember?) and a pair of super-tough scissors (or tin snips) for completing the stove ‘door’ opening.

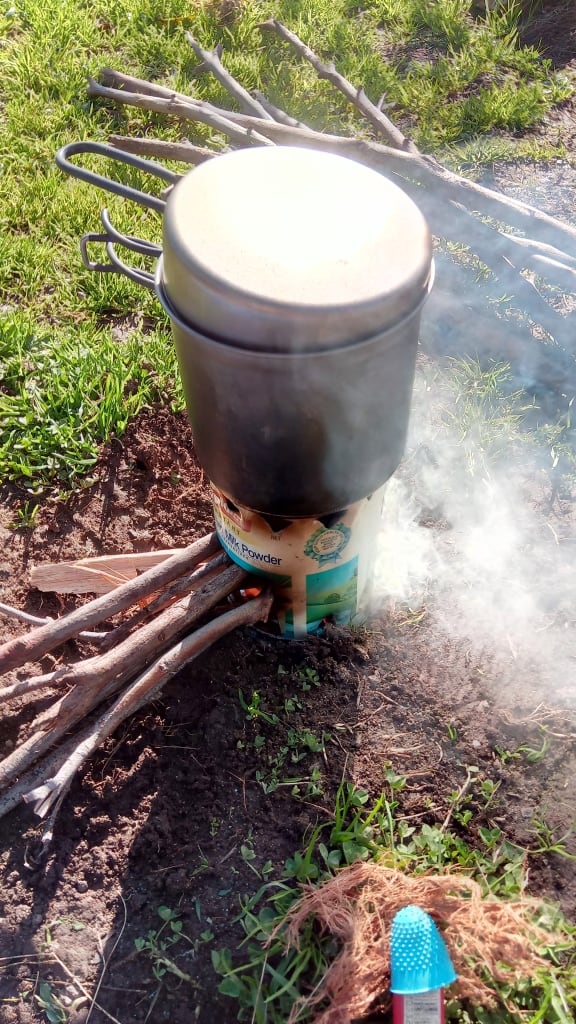
I have made this one this morning (for demonstration purposes) out of a used powdered milk can (as you can see) which is an essential commodity on the trail anyway (two uses below).
The large door means you do not have to use fiddly little bits of wood (breaking which always injures your fingers) or burn your fingers dropping them in the top through the flames. As they burn down you just shove them in a bit further so that the flame is right in the centre of the stove.
You might have noticed the tinder I used from the fluffed-up outer bark of a ‘stringy-bark” tree. This is a common woodland tree in eastern Australia (many varieties). There will be dry bark even under a wet exterior (on the lea side). You will notice my new –fire-proof thumb protector attached to the Mini-Bic. This now goes with me everywhere I go.
As with any fire you start with some very small pieces then work your way up. You will have little trouble lighting this stove even in the rain (providing you put your cook pot on first) as everything stays nice and dry inside.
The stove is burning sticks of wood that are up to 1″ (2cm) in diameter and about a foot (30cm long) such as it is comfortable to break over your knee (without injuring your hands).
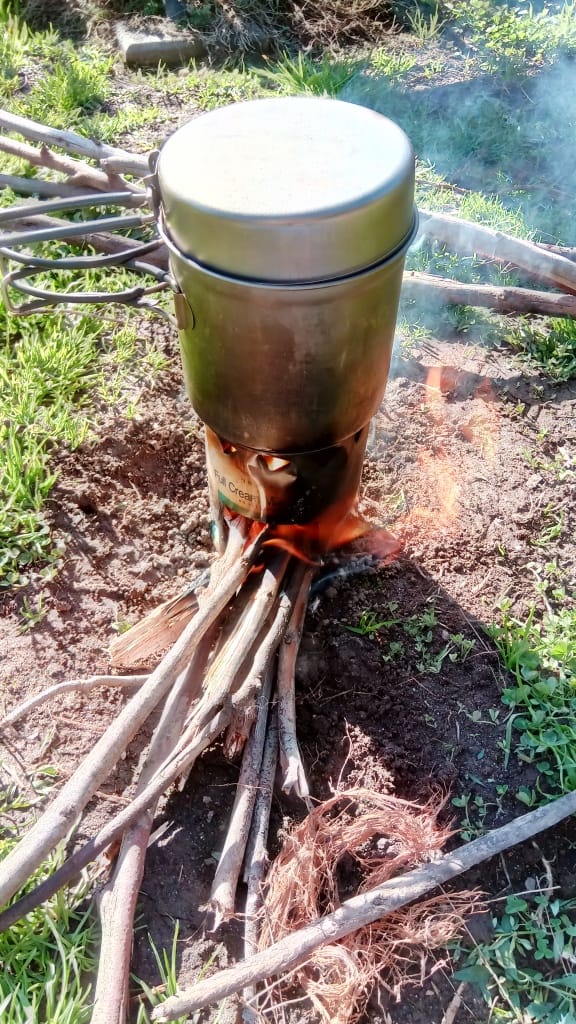
A cup of cold water straight from an icy river for your morning coffee comes to a nice rolling boil (shown) in under 5 minutes. (I timed it)
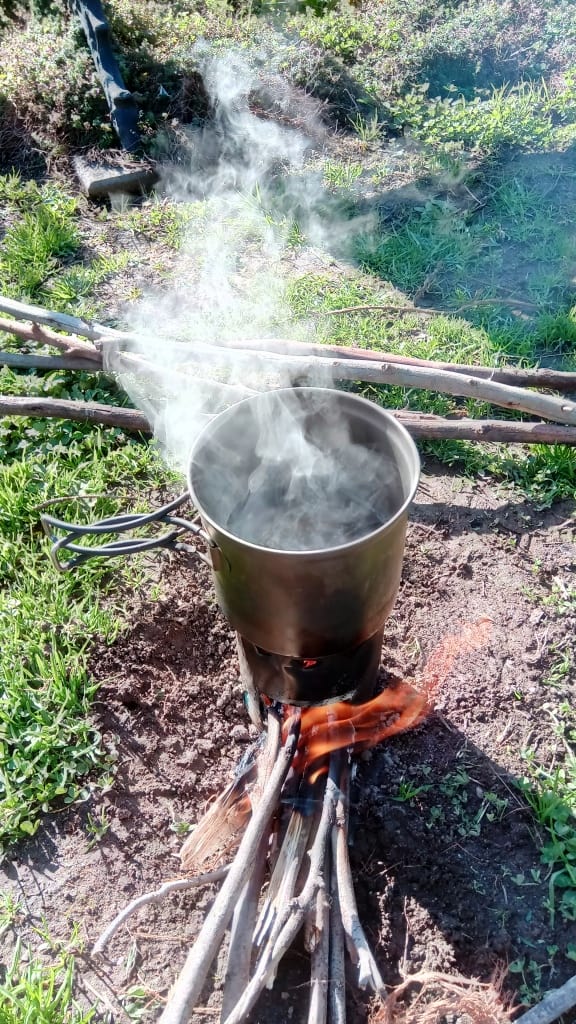
You have to admit that is a lovely clean flame. Australian Eucalypts. Great firewood.
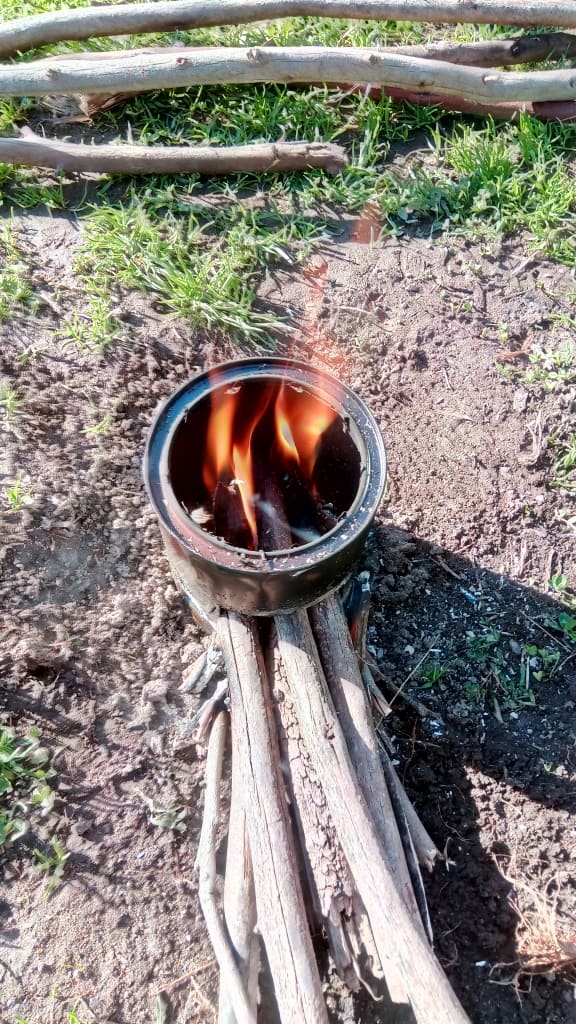
When you are finished cooking your breakfast you just pull the sticks out and lay them separately on the ground taking care not to set anything else alight. They will go out almost instantly.
What’s left in the stove will burn itself out while you are drinking your coffee. When you have finished your washing up in the river Making sure everything is completely out, you just scatter the contents around, leaving no trace
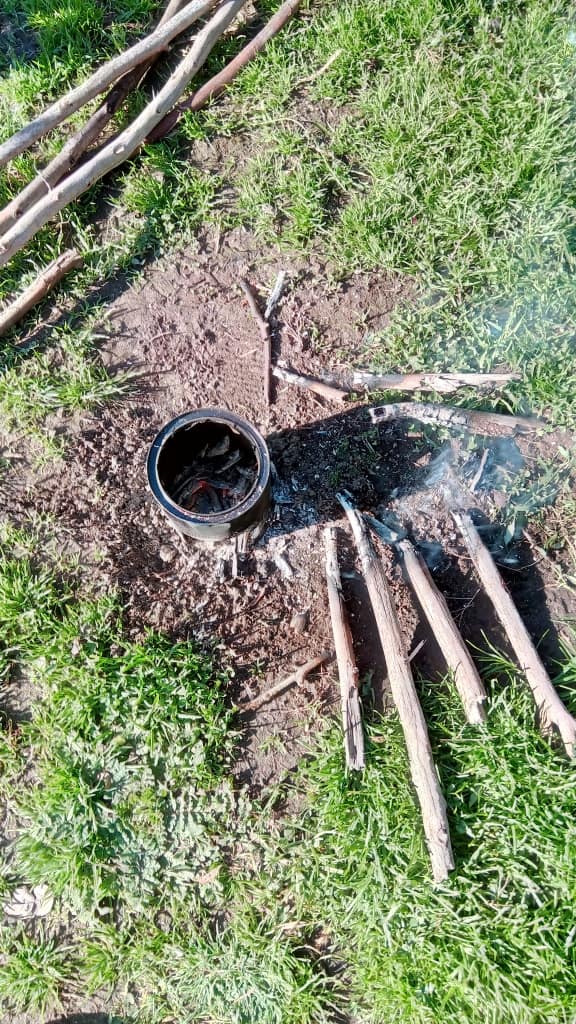
If you use a square of fibreglass cloth (hardware stores, eg Bunnings) or carbon felt (better). Try eBay. Dearer too, perhaps $10, but it will last you for many years, you need never leave any burn mark on the ground from your fire or create any danger that your fire will get away. Believe it or not a scrap of flashing or a disposable aluminium pie dish from the supermarket will do just as well.
So what’s for breakfast:
Well (white – the milk) coffee or tea obviously.
If you have a pot like this as well as a spare (15 gram) ‘plate’ such as I recommended here and/or one of these excellent Sierra Cups (anyway a cup) you have the ability to make several ‘dishes’ at the same time so you can have a varied meal.
I would recommend Chinese sausage because it does not require refrigeration and is fatty enough that it needs no lard to cook it in.
I would definitely recommend scrambled (powdered) eggs thickened with a bit of milk (again – I told you two uses, remember). If you did not bring the sausages (but you did bring the lard – in a snap-lock bag, as I explained here), then you can add some of this dehydrated bacon to the eggs.
Some dried chives would also go well. A little pepper and salt (which you can carry in these). Or you can chop up a little salami. Maybe sprinkle a little cheddar over it. Salami and dry cheese (ie not ‘green’ cheese) were both invented a thousand years ago (or more) as long shelf-life foods requiring no refrigeration.
If you want vegies with that (they are good for you, and a pleasant variation), it is the work of a minute to make some potato mash (with Deb – NB there are tasty brands) and some ‘Surprise’ dehydrated peas. In some countries (we used to too) they have ‘Surprise’ beans, carrots and corn too – but you can dry your own and bring them along in a snap-lock bag.
You can even bring along (a small portion of) one of the many delicious ‘Gravox’ sauces (Brown Onion Gravy is my favourite) as an embellishment.
Of course if you have been up early with the ‘Ultralight Fishing Kit’ you might have a nice fresh fried trout for breakfast too. I trust I have your mouth watering.
You see, you do not have to endure either the expense or the blandness of those awful dehydrated ‘hiking’ meals. Eschew them. Neither do you have to waste the expense of a hiking stove or fuel – or the effort of lugging them along with you.
Our hobo it seems had a better life than the average hiker nowadays!
For more food ideas try this: A Hiking Food Compendium
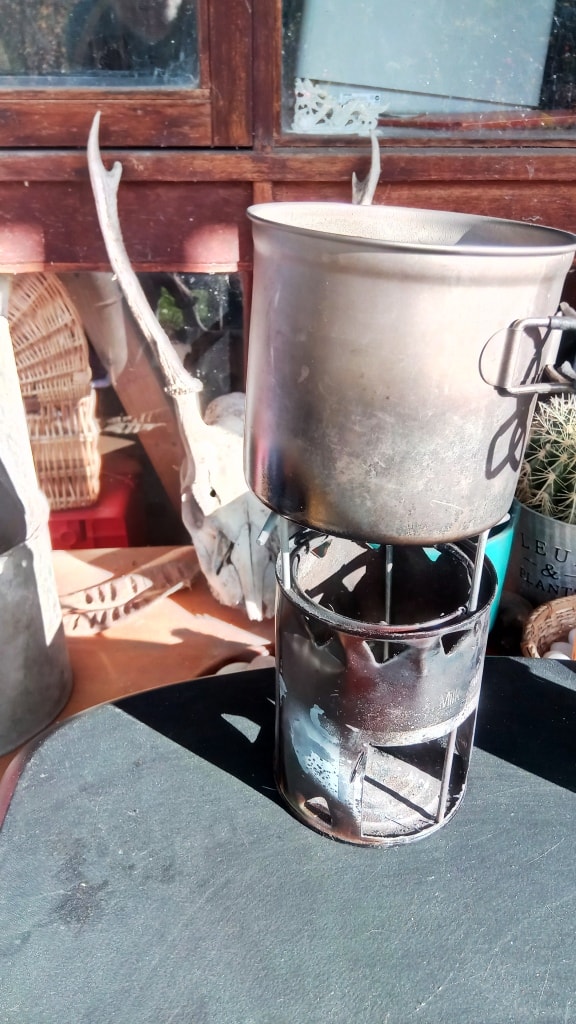
This stove weighed 92 grams (after use) and will cook many hundreds of meals before it is quite worn out. A tip from Tim the Tinker, a smear of cooking oil or fat between use will extend the life of the stove enormously. You could use a spray can of oil if you are lazy like me. Fish oil is brilliant at preventing rust.
The stove also does fit completely in the pot shown. How good is that? It would weigh less (and be easier to fit things inside it) if you cut out the bottom leaving the outside ring – similarly if you punched out the air holes. You could probably save 10 grams – or more.
NB. For comparison, the Bushbuddy weighed 145 grams and cost $120 . The Suluk TDW Stove weighed 85 and cost $150. Both excellent stoves, but if you are on a budget…

Want a simmer stove? Three holes drilled equidistant around the rim (This can is just over 12″ in diameter, so 4″ apart), three tent pegs, and voila:
I know people like videos and as I now have a phone which takes them and have figured out how to upload them, here are some videos I took while I was playing with the stove. Enjoy.
See Also:
How to Light A Fire In the Wet!
Steve I will building one of these starting Saturday. Hope to go camping near Myall Lakes next month.
Ross
Great Ross. As I say you can just use the ‘tinplate’ sides of a large can. Careful with your fingers. I will post a photo of how I folded back the edges of the hexagon-shaped door for reinforcement when I knock off at the end of the day. The hexagon is on the edge it is so the stove will still roll up easily to fit in the billy. Cheers, Steve.
Hi Steve, Nice post. The long stick feed makes these stove much easier to use. I found that a smear of cooking oil or animal fat slowed down the rusting of tinplate stoves if applied after use and before storage. A USB fire blower in the bottom of the milk powder tin would make it very hot and free of smoke. https://timtinker.com/blower-fans/
Keep up the good work, Tim
Thank you for those two excellent suggestions Tim. I’m sure they will be appreciated by people who want to make their own. Cheers, Steve.