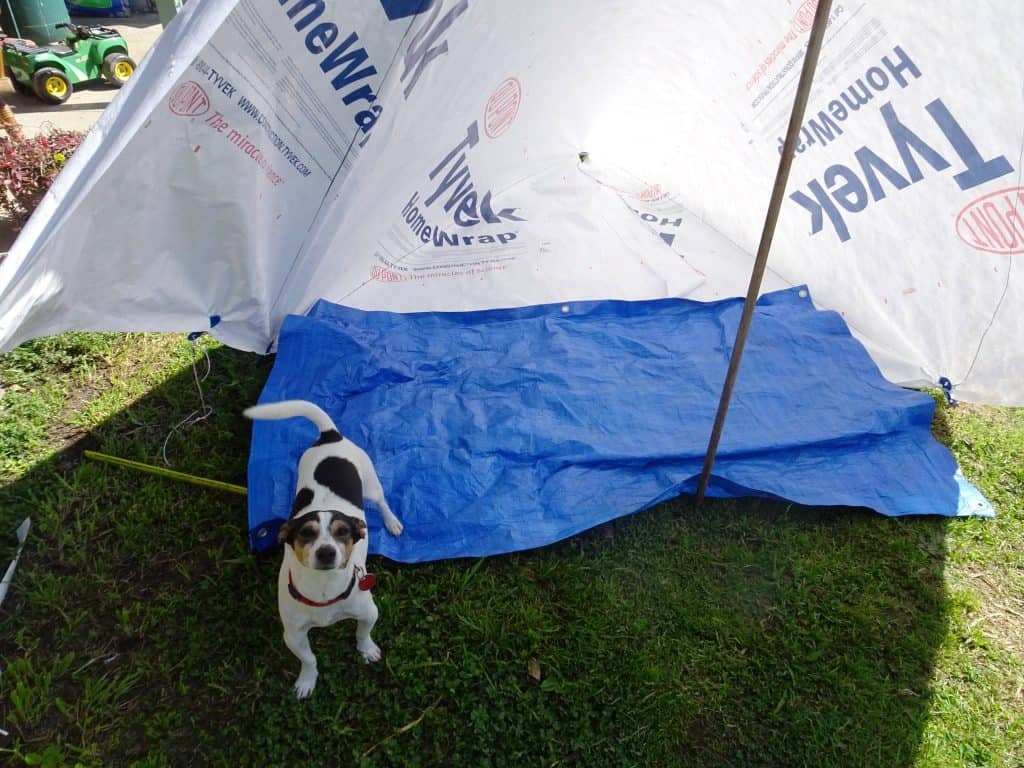
I know most people can’t sew (and probably don’t have much money either) so I suggest either of these two simple poly tarp ‘hacks’ for en excellent dry shelter (which you can also enjoy a fire out front with). They both also feature ‘stand-up’ room (at least if you are shorter than 6′) which I think is so much more comfortable than crawling around on your hands and knees on wet ground entering and exiting (eg to put another log on the fire).
Both can be closed in case rain decides to come from every direction at once. I recommend (if you can sew) sewing gross-grain tie-outs to them and cutting off any excess material. You don’t need the hems or useless grommets for example (and especially if they have rope in them as some do). If you can’t sew I suggest you buy some tarp clips. These ones are really good and light I find the smallest ones fine. You may even make a kayak with them.
The 8 by 8: This can be made from a 12 ‘by 12′ tarp. When I began this post I own that I intended to dig out a 12′ x 12’ model I used to use for years while waiting for hounds to wander back in from sambar deer hunting. It i s hidden in the shed somewhere. I rediscovered a couple of them I had made in my drums along the river where I went recently and spent a couple of delightful nights camped in them – I only regret I did not take any photos!
Well, I did find one:
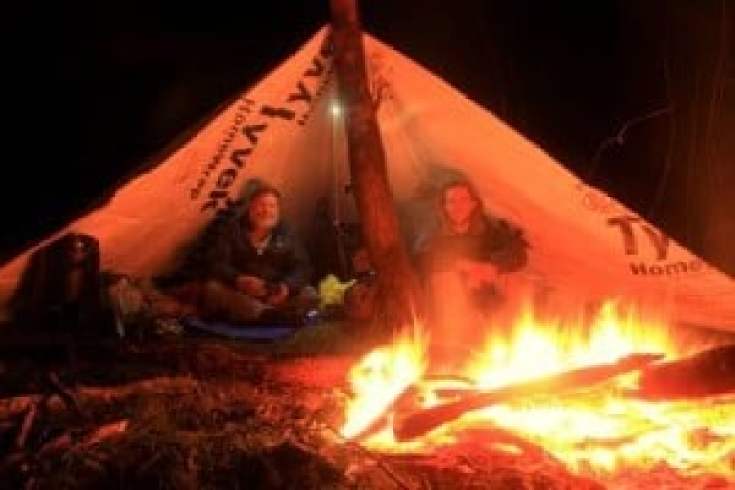
While we were waiting for hounds, cooking our sausages etc (Brett Irving shows how) I would set it up like this (in the rain). When I went to bed, I would drop it down, fold the back flaps under to make a ground sheet and bring the front ‘wings’ across a bit so I stayed dry all night. Of course I could also keep the fire going so I stayed toasty warm. Half a dozen could shelter safely under it during our ‘cook-up’ at day’s end.
As it eventuated I was keen enough to try out a smaller model (& in Tyvek!) that I went ahead and made it instead of continuing my search through the labyrinth of the shed:
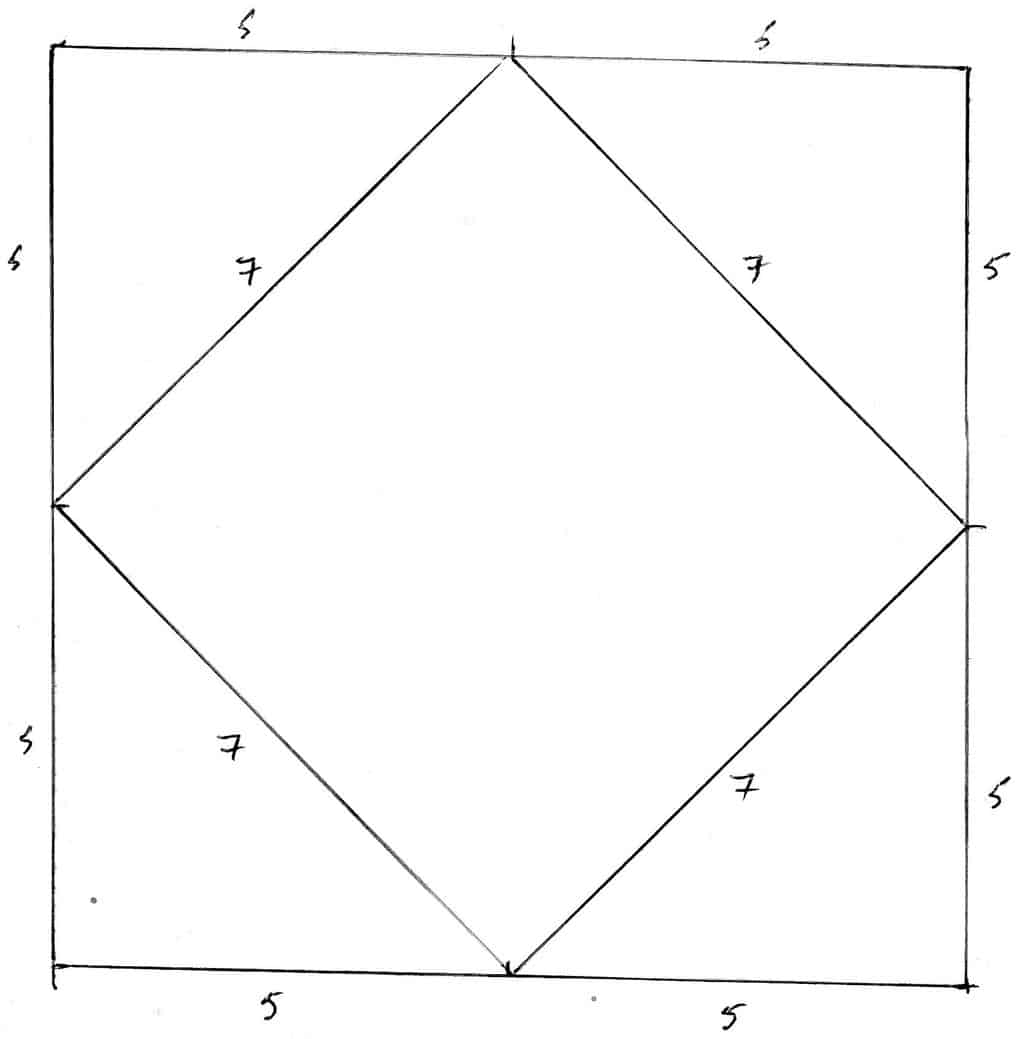
This diagram below is for the smaller one therefore and is in feet but I actually cut the tarp out of a 3 metre roll of Tyvek, so the intermediate points are actually 1.5 metres. If you are making the 8′ x 8′ above instead you will begin with approximately a 12′ x 12′ tarp. Halving the sides will give you a 8′ by 8′ diamond in the middle with 12′ diagonals and the flaps will be approx 6′ long. The size below is likely all you will need – unless you have lots of friends!
Once I used to carry just a 7′ by 7′ nylon tarp (and my raincoat). I had a few uneasy rainy nights when the wind wanted to shift a bit, but I never got wet. I even used it quite successfully as a hammock tarp many times – and again never got wet. You can get too excitable about size and ‘making sure’. Most nights it doesn’t rain anyway – and how often do you go camping when it is going to?
This 10 x 10 tarp can also be pitched as a hammock tarp (and with closed ends on both sides!) It will definitely keep you dry under the most extreme conditions. I may add a couple of extra pieces of Tyvek to the floor (with some Tyvek sticky tape) instead of the 6 x 4′ blue poly tarp you see in the pictures below – or I will use a piece of Polycro instead. I will post the dimensions of the floor pieces when I have cut them out.
And here it is:
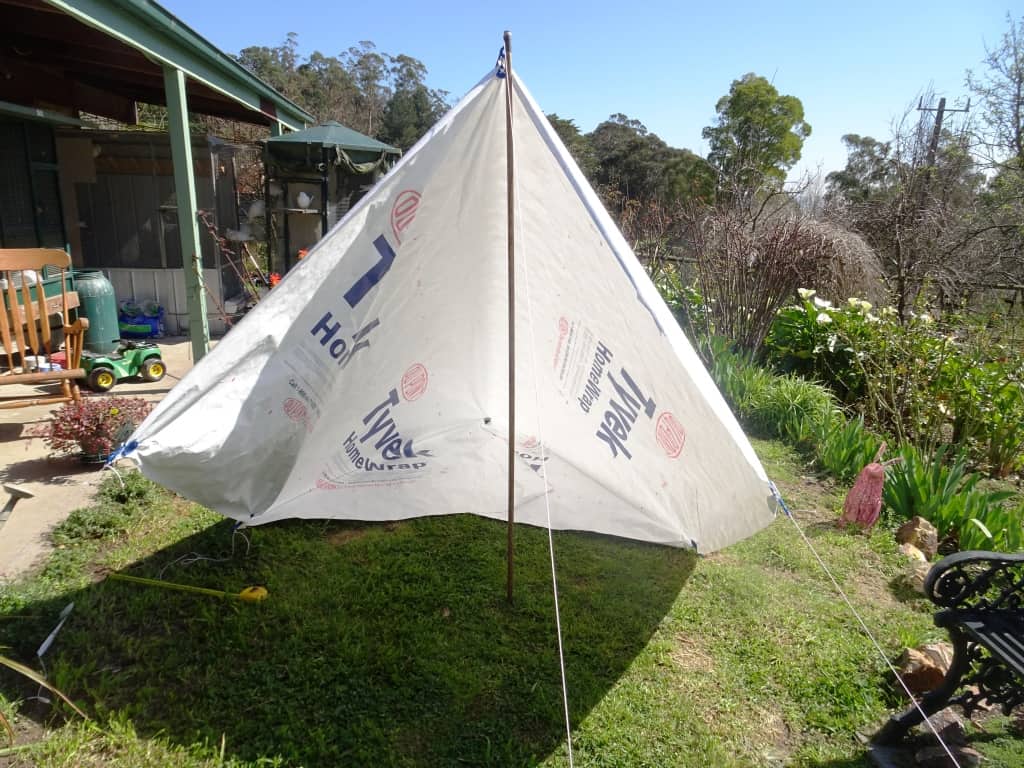
There will be more tie-outs.
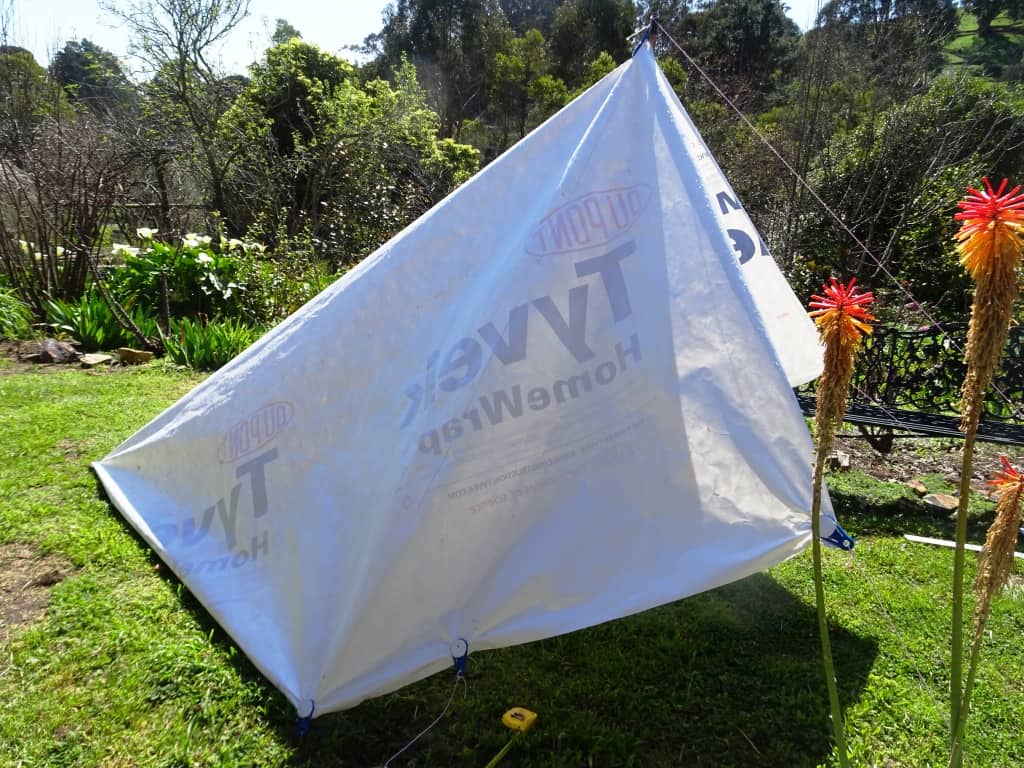
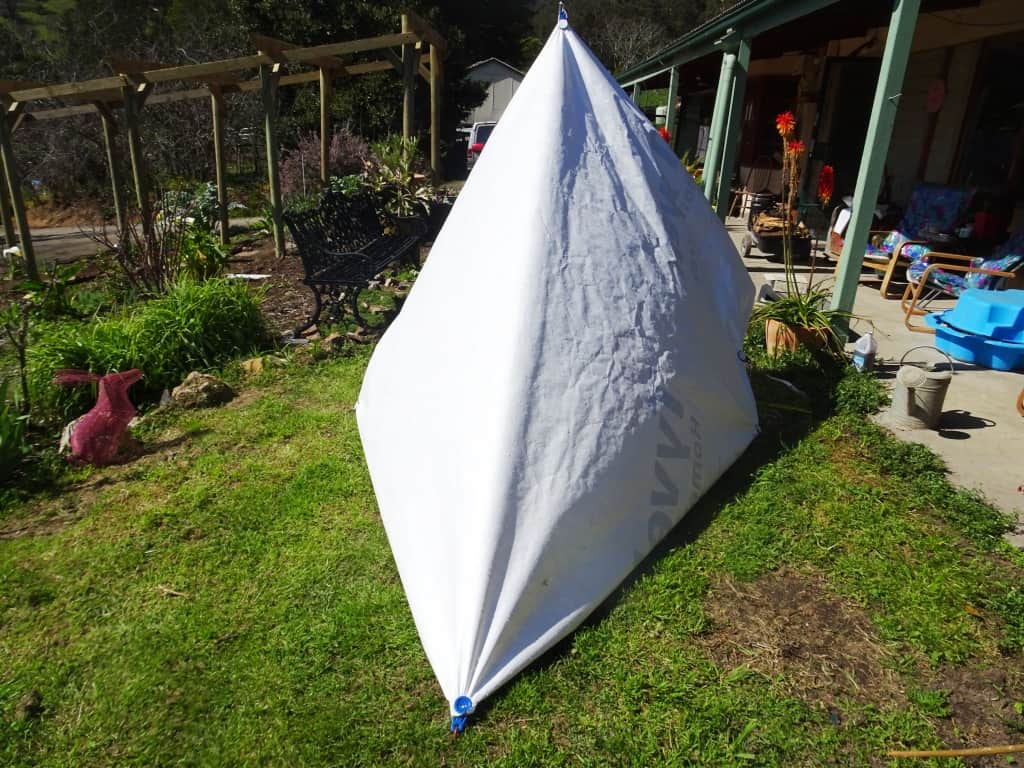
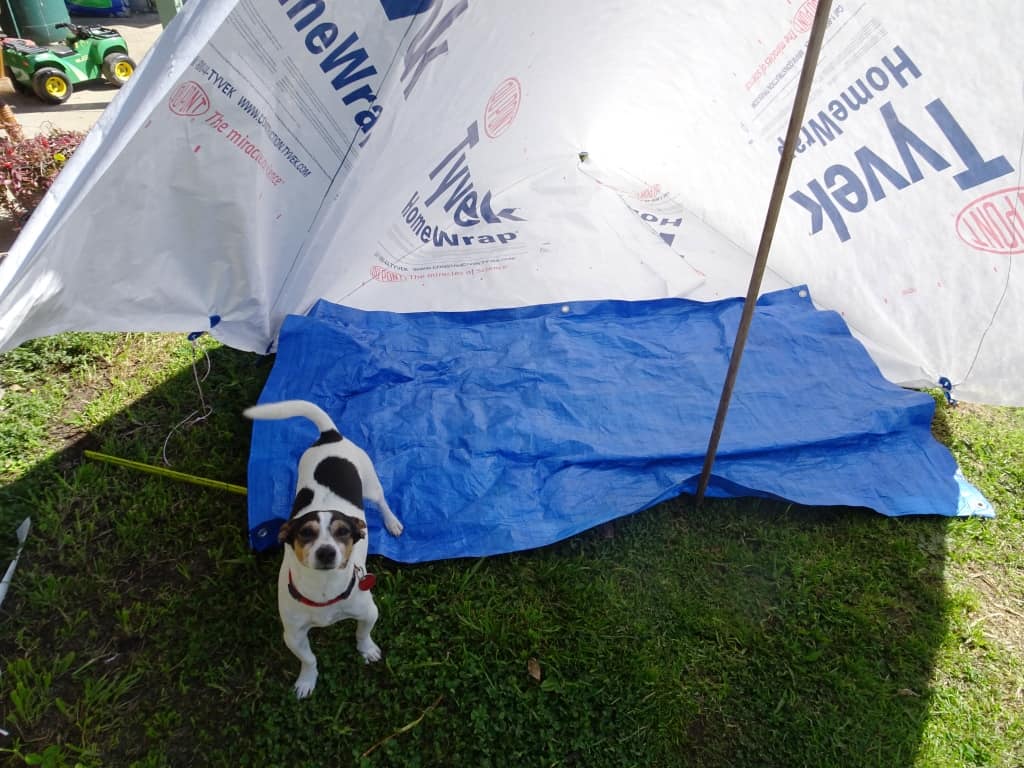
The front flaps can be configured in a variety of ways depending on conditions. I have only altered one side in the photos. I will take it down (tonight?) and sew all the tie-outs on as I am intending a (return) trip to a new spot in the very near future. I will be taking in a canoe drum – to leave it, a fire umbrella, ultralight saw, a cookset and a A$40 Intex raft and paddle in so I can hunt/explore the other side of the river. On the trip out, and on future trips I will be able to travel more lightly.
I also need to work out a way to fire-proof my drums (as I lost so many in the summer fires). My initial idea is to bury them standing up so that the top of their lids is level with the ground (in a grassy spot). The deer will keep the grass short in the warmer months. I will then peg out a 1 metre by one metre fire blanket over it. I will have a go at dyeing it. I know that the white fire blanket will attract attention, but I am hoping that folk who get to such remote places will be civilised enough to simply use the shelter etc if they need or wish and put it/them back in the drum. When there is a bushfire it should go out at the edge of the fire blanket and not be hot enough to melt the drum.
On this trip I will see if I can find a small cave in a rocky cliff to stow it. I may take a makeshift piton and some string to secure it there.
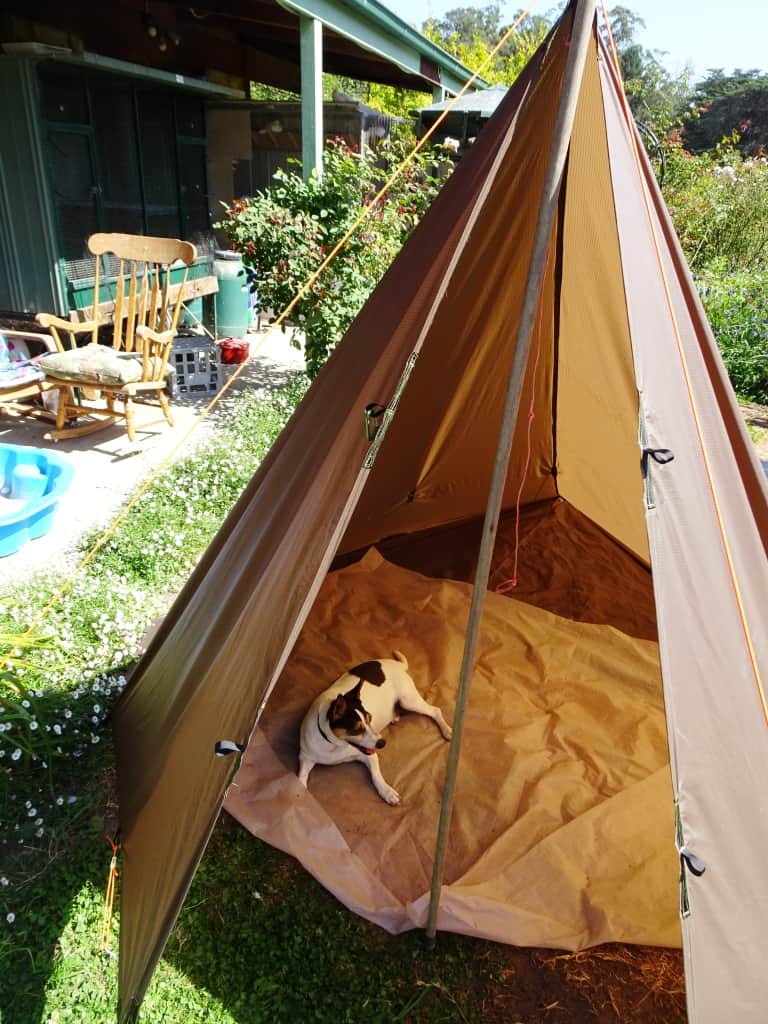
The front opening is an equilateral triangle 7′ on a side, meaning its height is approx 6′ . You can either tie to a piece of wood (as shown) or to a small tree (if available) – which obviates the need for front guys. You could pitch it lower (and so wider) but the flaps at the front would not join.
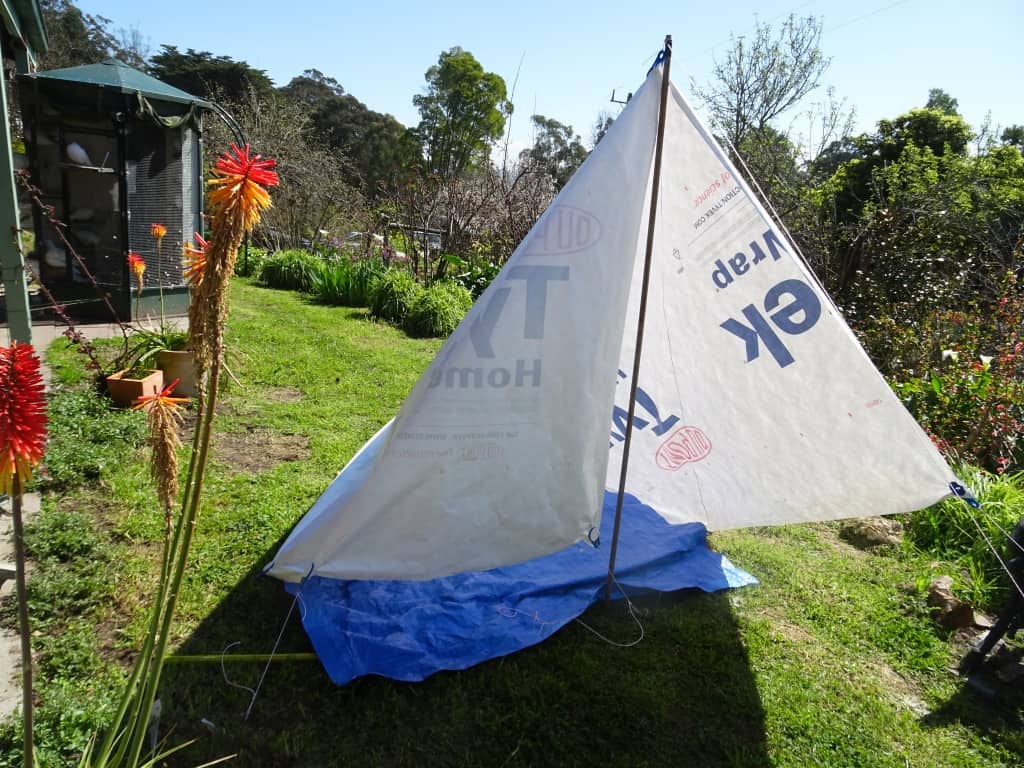
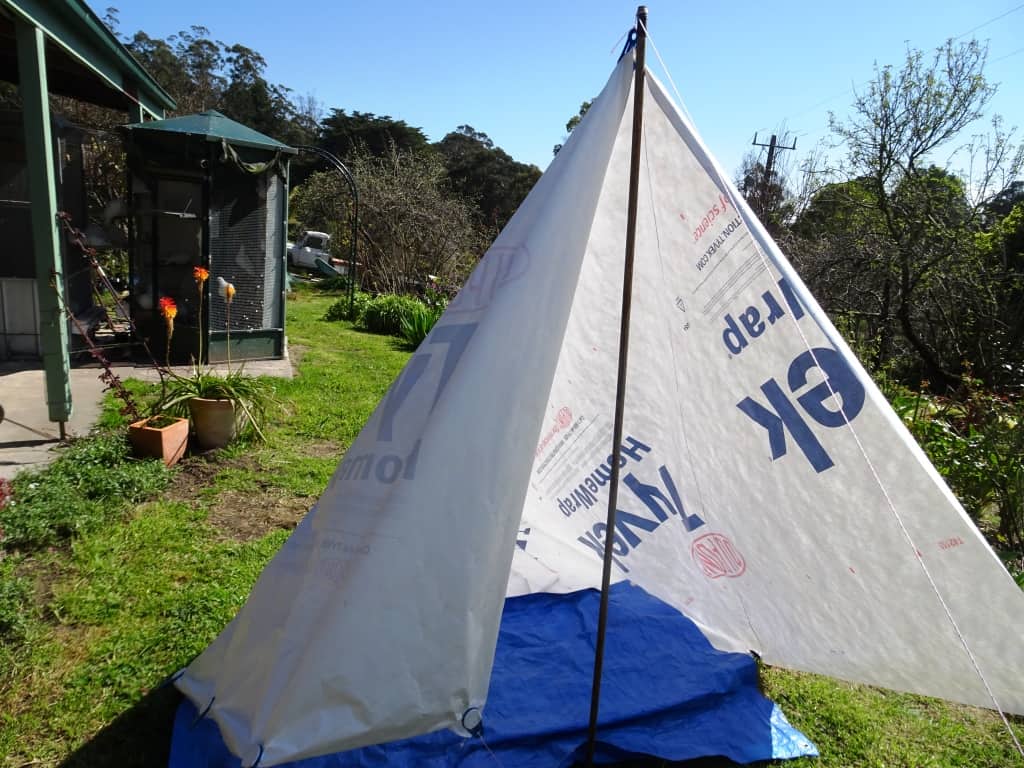
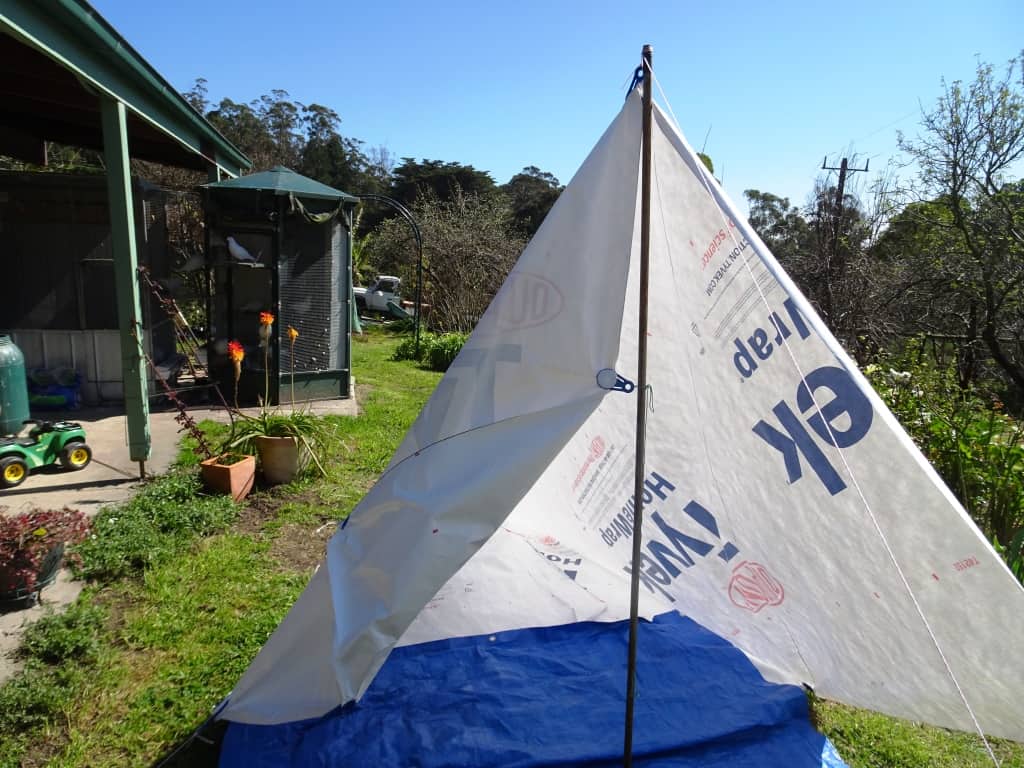
My grandson enjoyed it.
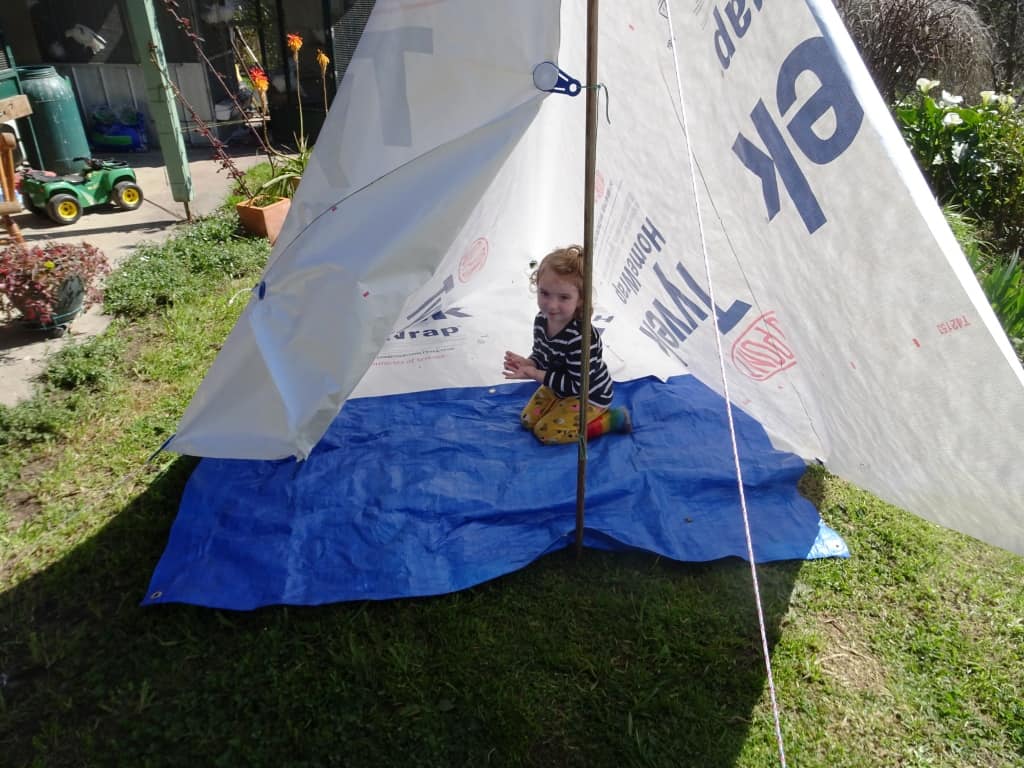
As well as his mother and our dogs, Spot and Honey.
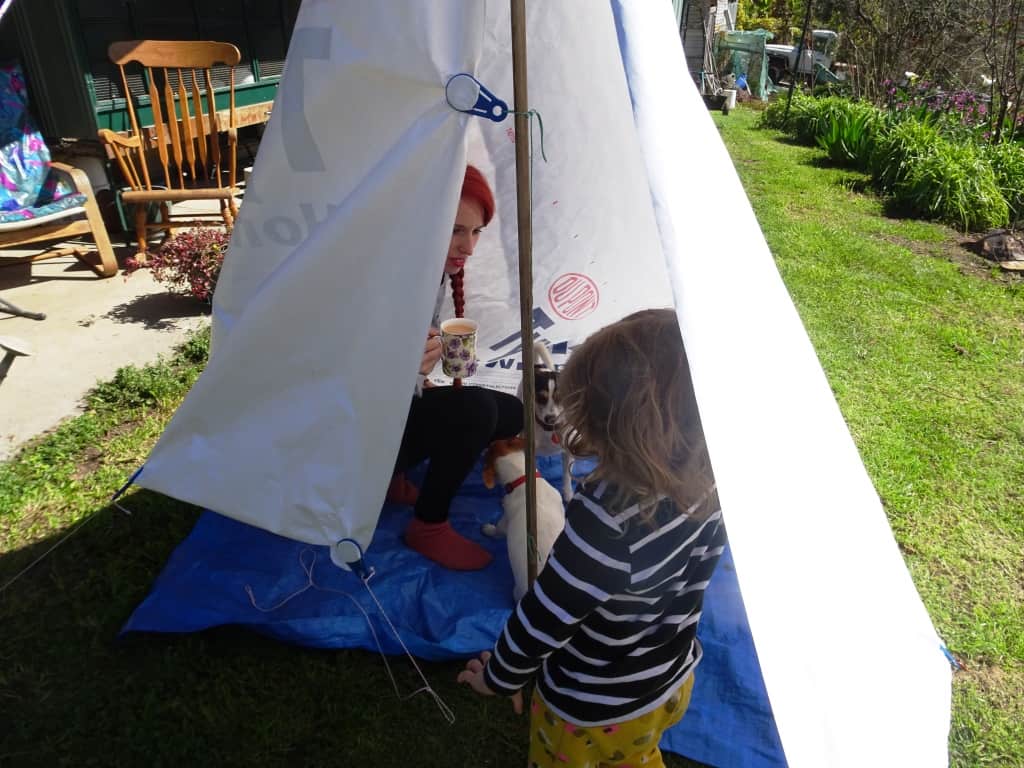
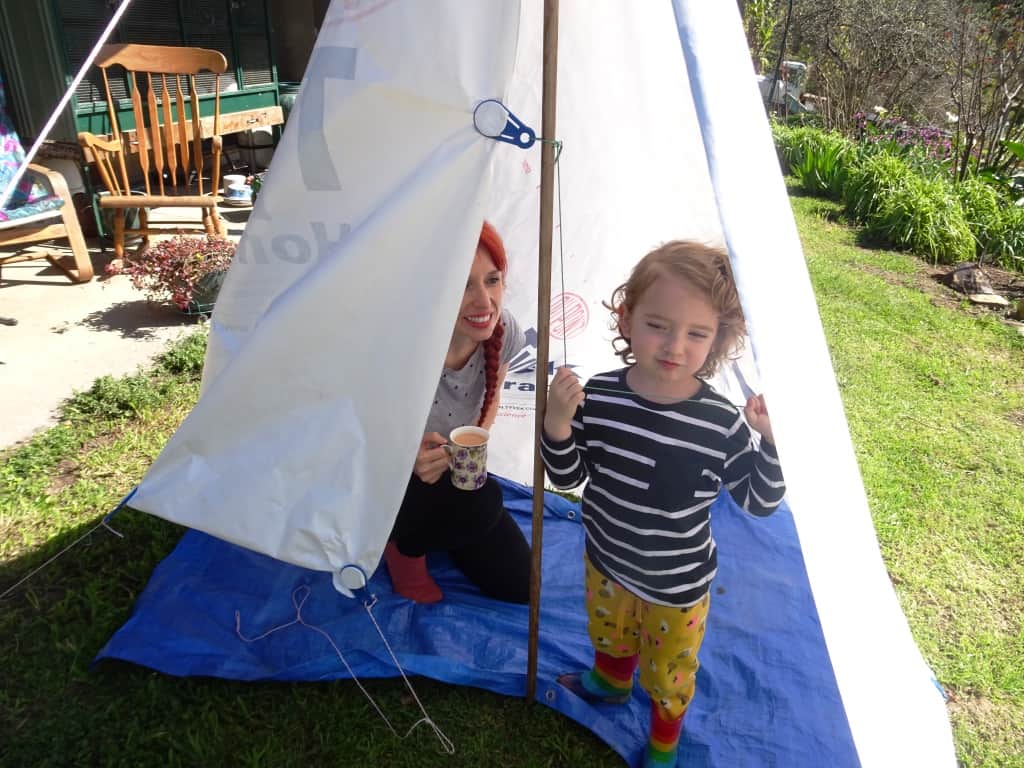
PS: I usually have two guys at the front instead of the one shown so that I can peg out to the ground at the side front thus making room for a fire immediately in front of the shelter (say about 5′ away).
In Tyvek the tent in the photos above will weigh about 650 grams in the 1.85 oz/yd2 Tyvek Homewrap. A lightweight blue poly tarp I bought locally yesterday had a stated fabric weight of 90 Grams Per Square Meter ie 2.6544 Ounces Per Square Yard (or 43% more) The 12 x 12 model is 44% heavier than the 10 x 10 model, so you might want to reserve it (in poly) for car camping, as I used to. Nonetheless I think you should give one a try. If I made the one above out of 1 oz silnylon it would weigh under 450 grams (under a pound) including pegs and guy lines! Pretty good for a tent with a floor you can stand in which can double as a hammock tarp.
It will cost you very little, and I’m sure you will be mightily pleased with it particularly when you want to sit in front of a warm fire out of the wind, and especially on rainy days. One advantage of such a shelter is that your back does not get cold when you are sitting in front of the fire as the heat is reflected off the back walls. I usually find that I am sitting around when the temperatures are below freezing in just my shirtsleeves!
Here is the finished versiion of this excellent tent/tarp:
The Forester Tarp: I haven’t got time to finish the second section of this post just now so it will become a future post. I must finish the tent above and get a few other jobs done around the farm or else I will never get away up the bush. What I have in mind is to add ‘wings’ to the front and back of this basic Forester design (cut down a little in size as in the second link below) so that the front will close (as in the tent above) and the back will also close with overlapping flaps from either side – so that the whole tent can be cut from a single piece (Tyvek is not quite wide enough – I think). This design will make a roomier tent than either the 12 x 12 or the 10 x 10 models above with more stand up room.

https://www.theultralighthiker.com/2015/05/11/col-townsend-whelens-forester-tent/
https://www.theultralighthiker.com/2016/02/12/new-tyvek-forestertent-design/
https://www.theultralighthiker.com/2017/07/01/the-dawn-of-ultralight/
Update: I finally finished this project, and here it is:
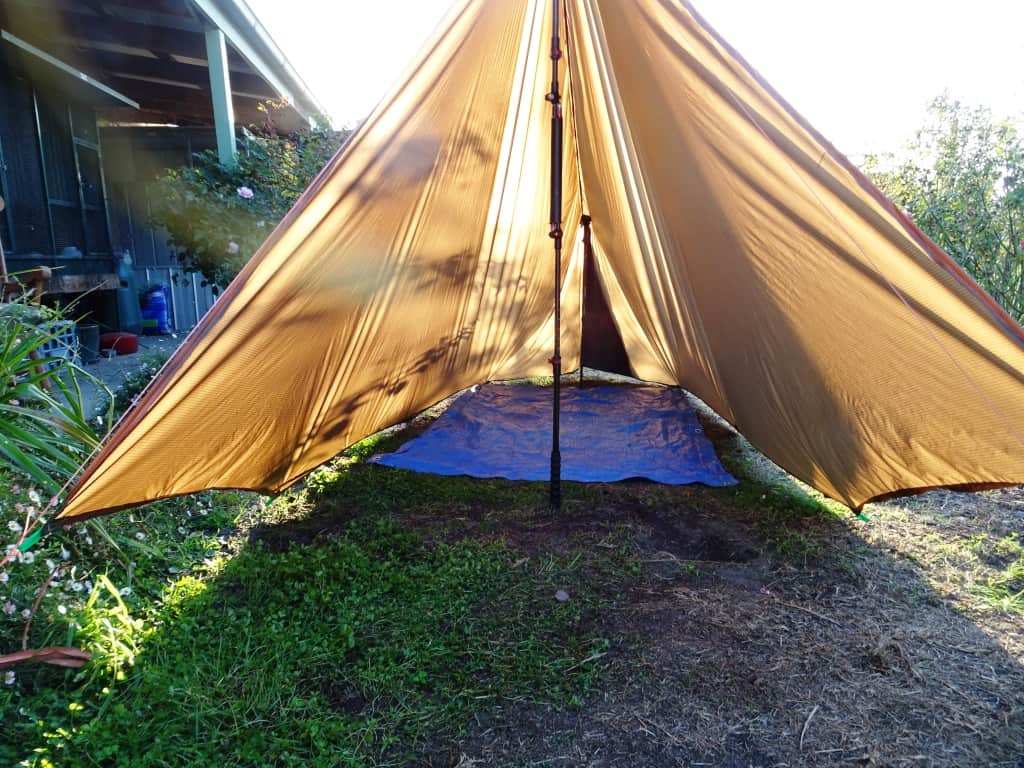
Note on Tie-Outs: I would sew a piece of reinforcing material at the front tie-out (which takes all the weight of the fabric -and any flap) and also at the rear one (particularly on the Forester – for the same reason). Otherwise I have found that simply hemming the material then sewing the gross-grain ribbon for the tie outs along the hem for 2’3 inches then forming an approx 2″ loop, giving the material 180 degree twist (like a Mobius strip) – so it is easier to get the pegs through, then sewing along the hem for a for a further 2-3″ on the other side works well. As this one may also be used as a hammock tarp I might also reinforce the corners.
BTW: You can pitch either of these tarps as simple floorless diagonals where the smaller of the two will span 14 feet and have edge cover of 10′ either pegged out from from a pole or tree to the ground (as shown) or as hammock tarps between two trees. (Obviously if you were going to use it like this, you would need to carry a piece of Polycro as an ultralight groundsheet You can buy a piece 5′ x 9′ from Amazon.com.au for A$11.46).
So, something like this (or the photo of the blue tarp at the top):
Or you could pitch it like this. I will have to remember to sew on a tie out to help support the back wall in this configuration.

DIY Hiker: You can find over 100 of my other DIY hiker ideas here: 60 DIY Ultralight Hiker Ideas
See Also:
https://www.theultralighthiker.com/2019/09/24/10-by-10-tarp-update/
https://www.theultralighthiker.com/2020/03/27/silnylon-hammock-tent/
https://www.theultralighthiker.com/2017/02/01/poly-tent-by-the-ultralight-hiker-on-the-cheap/
https://www.theultralighthiker.com/2018/05/29/brawnys-tarptent/
https://www.theultralighthiker.com/2017/05/28/tyvek-solo-fire-shelter/
https://www.theultralighthiker.com/2014/05/27/an-open-shelter/
https://www.theultralighthiker.com/2017/03/03/fire-tent/
https://www.theultralighthiker.com/2017/11/22/ultralight-ground-sheet/
https://www.theultralighthiker.com/2015/06/25/pitching-the-poncho-warning-this-may-save-your-life/
https://www.shelter-systems.com/product-category/gripclips/

