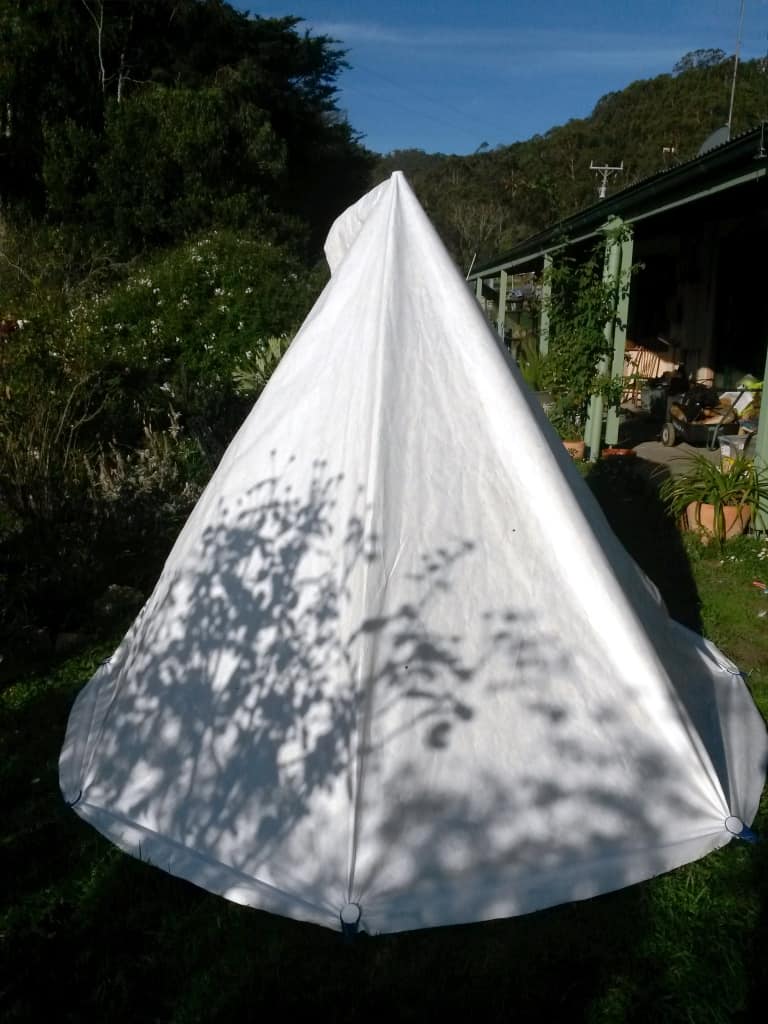
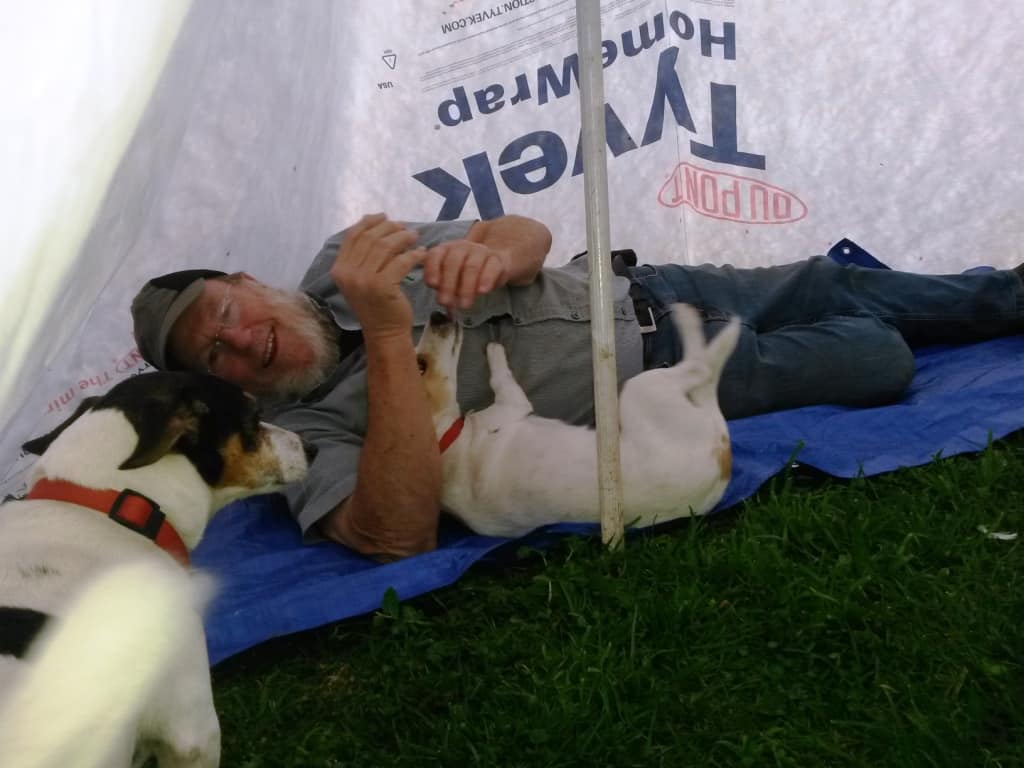
How big a tipi can you make in a single piece out of a 3 metre (10’) wide roll of Tyvek? I began this project as I want to take one in and leave it in a canoe drum along with a small wood heater to warm it on winter nights at ‘our’ new ‘hidden valley’ hunting spot. It turns out to be around 9-10’ wide and 6’ high (though I have not yet finished it). Plenty of room for 2-3 people, the stove, a couple of dogs and lots of gear.
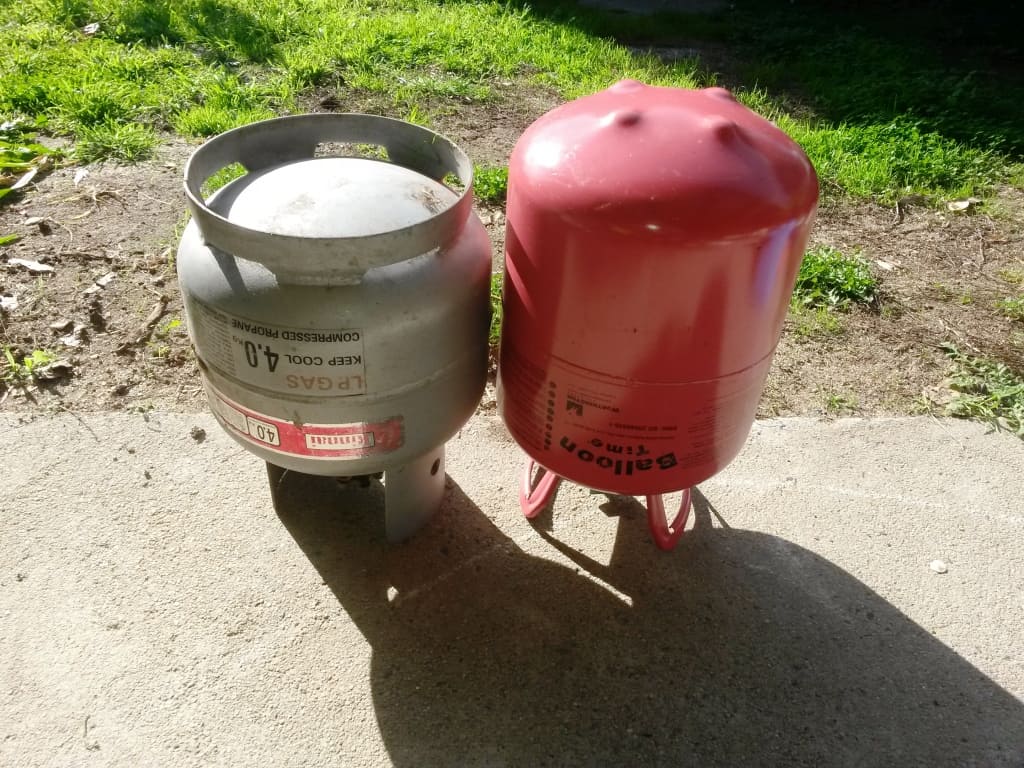
Two possible stoves from the scrap metal, one steel the other aluminium I guess – no both steel, the helium one is just lighter. I will have a play with these and see what I can make. I realise we also have an old stainless steel cook pot might be adapted.

I will have twice as many tie-downs as shown (every 2′) sewn in and the material catenary cut. I will secure them to pegs with line locks so that there is no vertical force. It will certainly not blow down or leak. The floor will come up the side walls 4-5″ for a ‘bathtub effect. I will sew some 6″ x6″ vinyl windows in on four ‘sides’ to let in a bit of light and so you can look out a bit. I will have to also sew in a fireproof fibreglass ‘boot’ for the chimney.
PS: I now have a better idea for a stove more like 250 grams. See Tent Stove Progress
I have some waterproof zips left over from another project but the way I have cut this in one piece leaves quite a large overlap which I will utilise just in case the zips give out – or I can’t be bothered doing them up. Some of this excess material will make a rainproof hood for an openable vent at the lee-side top. I will probably also sew on a small verandah above the doorway (which I will prop up with a couple of small bush poles) as it is nice not to have rain come in when you open the door. I want to be warm and dry in this shelter at all times.
I still have to ascertain the true centre which I won’t know exactly until I have finished the bottom and the tie outs. I will need a piece of Dyneema reinforcing in the roof (for the pole – likewise in the floor) I will have a long cord hanging from the top centre with many knotted loops. I will wind it round and round the pole to make a clothes line which will dry things nicely as it will only be inches from the chimney. The tipi including floor will weigh about 40 oz in Tyvek (22 in silnylon) – 1200 grams (or 660)
I guess the first trip I will take in a canoe drum, cook set, the tipi and a cheap raft. The following trip I will take in a second drum, the stove and other items- unless someone else volunteers to come along with me on the first trip. After a while I should have lightened my load in considerably, and as I will have eaten all my food there will be space in my pack for a little venison on the way out. I wonder whether I will be able to dry venison over the stove?

The two dogs assure me that they are coming. I still have to make them some new beds – even though I bought the material a couple of years ago. This project will spur me on to doing that as I will be able to leave their old beds in the canoe drums – likewise a cook set, saw, hatchet, fishing lines etc. Eventually I will probably leave some old warm clothes, a sleeping bag, raincoat…I want to carry in as little each time as possible. I might even be able to resupply the site with winter food on summer canoe trips – though I have not yet canoed this river. I don’t even know for sure it is canoeable, at my age at least.

About that stove: There are any number of youtubes about making propane/helium bottles etc into stoves. As usual most of them miss several points eg the ability to cook on top, no air leaks (so that you can have slow combustion). The door needs to be substantially airtight which means two (hinged) flat pieces of metal tightening against each other when you close the door, and an air feed slider – a disc would work well. It needs a flat top with the fire immediately under so that you can place 1-2 small pots there, or cook directly on it.
Maximum surface area is achieved by lying the helium bottle (2.3 kg as compared with 4 kg+ for the propane bottle – both are steel) on its side. You would then cut a slice off the top so that you could weld a flat top on. It can hang over the edges and front so that you can simmer.
Right at the back corner you would cut a <3″ hole and weld a >3″ collar so that you can sit a 3″ chimney inside it. The collar will have slots on either side for sitting the damper in (a must if you are to have slow combustion and fuel efficiency).
Another slice off the front of the stove big enough to weld a flat disc with a square hole in the middle for the square hinged door, which will have holes drilled in it so that a round slider (with matching holes)can be rotated in it to control air flow. Hope that helps.
I will post some more photos when I am finished the project…
See Also:
More about tent stoves:
https://www.theultralighthiker.com/2019/05/23/winter-tent-stoves/
https://www.theultralighthiker.com/2020/03/11/lay-flat-kettle-and-pudding-bowl-stove/
https://www.theultralighthiker.com/2019/05/29/tim-tinker/

