Yes, you can have a dry back when hiking (and for pennies!) I saw this genius idea posted by AnticitizenPrime on the Reddit forum MYOG back in July. I have to admit I scrolled right past it then , but I had a little more time to kill in the shop this afternoon so I paid a bit more attention. I thank him/her very much for the idea. It will work.

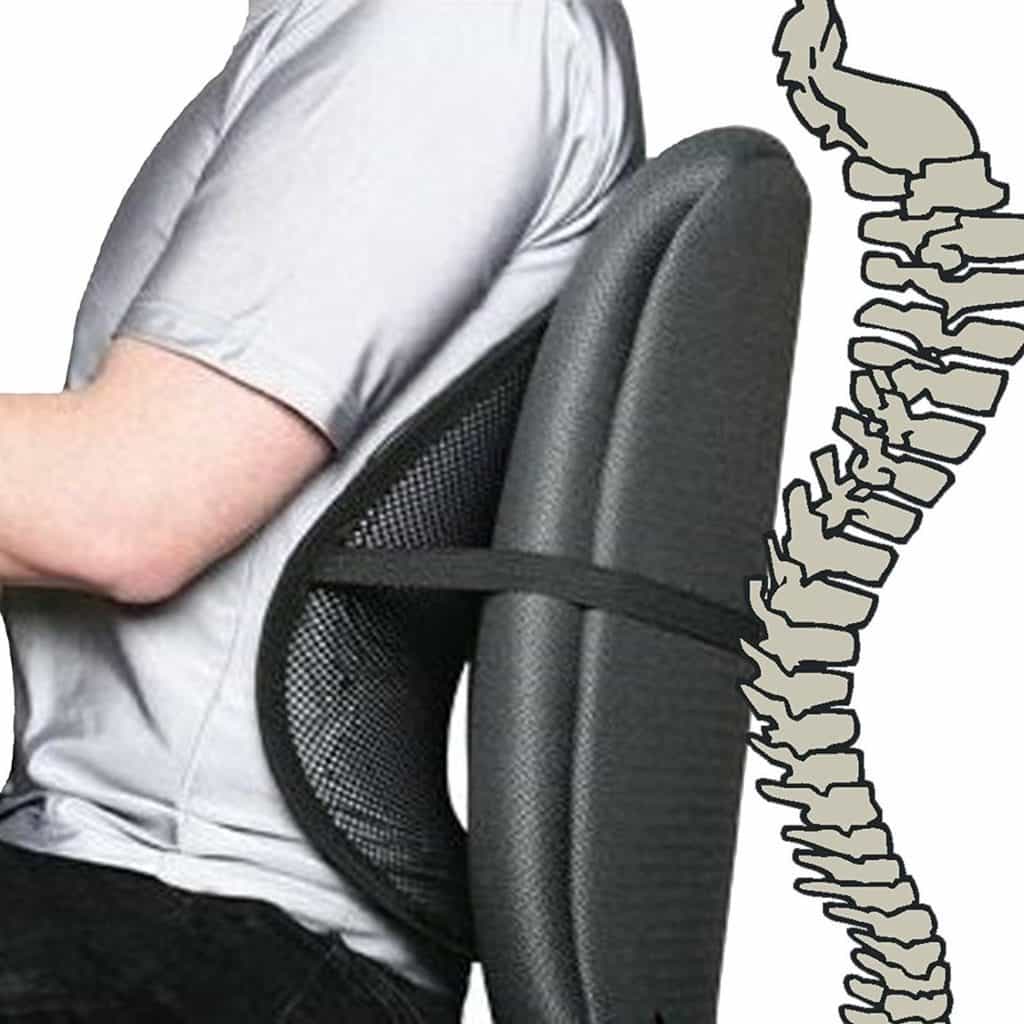
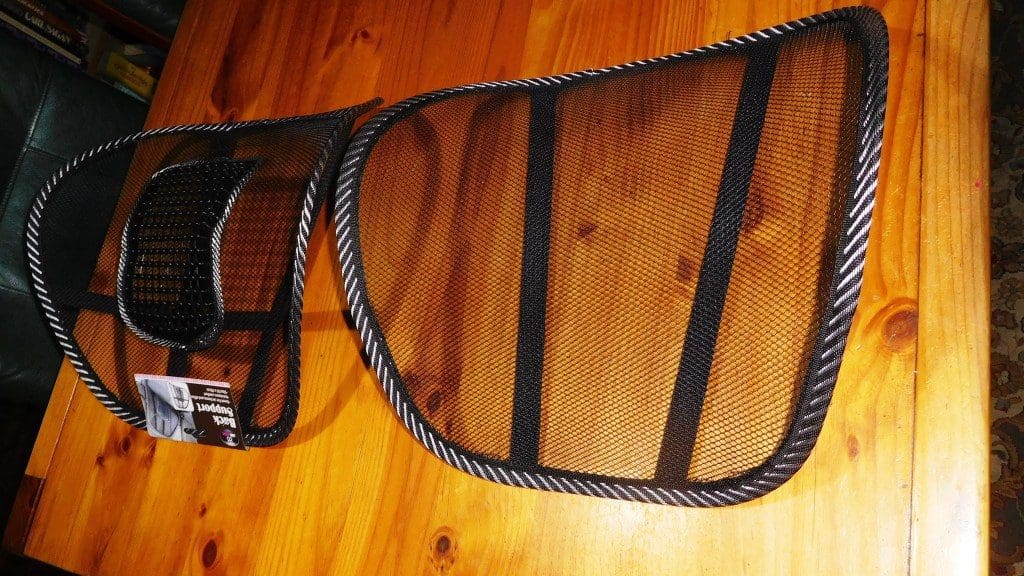
You can use one of those cheap lumbar support devices (for car seats etc) you see everywhere (I bought mine for A$4 from Cheap as Chips Morwell) as a back cushioning device for your back pack which keeps the pack comfortably off your back on a mesh panel, thus keeping it dry. It weighed about 155 grams out of the bag (left) and about 110 after I cut a few bits off it (right). You could delete the two pieces of webbing which create the tension and thus the curve and replace them with eg 1mm Dyneema twine, which you could then tension to your exact specifications with two clam cleats http://www.theultralighthiker.com/the-perfect-guy-line-for-a-hiking-tenttarp/. This would save approx 8 grams, making the device weigh about 100 grams. I use a Sitlight or an Airbeam pad at the moment for the same purpose, so this device will add perhaps 30 grams to my current pack weight, not much of a price for a dry back.

I would simply tie the frame of the cushion to my backpack. I may have to sew four-six loops of gross grain ribbon to it to effect this. No doubt you could tie it vertically with four more clam cleats (the smallest only weigh approx 1 gram each) so that you could adjust its position up/down till it’s just right. I know the mesh on the back panel will eventually wear out, but you can replace the whole thing easily in just a couple of minutes.
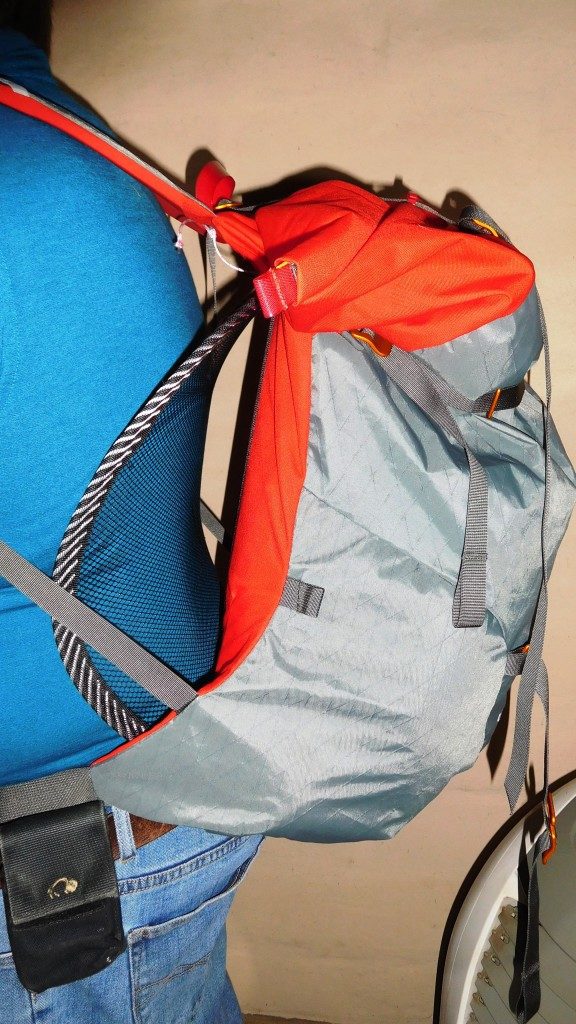
In the photo below I have simply slipped it in behind my new Montane pack (http://www.theultralighthiker.com/the-stout-hikers-pack-2/), but I will be adding a more permanent setup:

I think this is the single best idea I have seen in years!
The best thing about it is not that it keeps your back dry (which i admit is a serious bonus). It is that pushing the pack away from your body as well as having a panel which exactly conforms to your lumbar region transfers the load to the flat of you back better than anything I have ever seen! You will have to try it to see that i am right. Sure you can spare the $4!
I agree that this simple DIY version is a but clunky (and a little wide for your pack. It also pushes the pack further from your body than it needs to go. It was designed for a chair after all. I will try two things. I will unpick the netting from the metal 9?) frame an d see if I ca rebend the frame into a more suitable shape for fitting to a backpack. A simpler rectangular shape which more exactly conforms to the length of the pack. It will still have to have the bend which forces the pack away from you. Whether this works of not I will also try to bend some round aluminium tubing into the required shape with one of those 1/2″ copper plumbing pipe spiral benders (to see if it is lighter). The I will hem a rectangle of mesh and reinforce it with ribbon or braid so I can tension it to he frame (eg with micro cord locks). This way I should be able to get both the tension and the exact position right. I should end up with something even lighter, more exactly suited to my own body and my pack. I will keep you posted.
See Also:http://www.theultralighthiker.com/60-diy-ultralight-hiker-ideas/


I use one of these on my worn out office chair at work. It really saved my back and it does breathe well. Mine was $4 also. I’m going to have to try this, might work better than a Air Flow Sitlight, but it won’t work as a seat or extra padding under my inflatable.
Hi Les, It does work on the pack but it needs trimming down a bit and the wire replaced with carbon fibre tubing. I will get around to trying that one day. Cheers, Steve..