As you can see I have completed the first prototype of this project which I have long threatened. I learned a lot in the process, so that there will be substantial changes between where it is at now and the completed project. Still, you can see that it works. I created four ‘sleeves’ along the sides of the chair, back and seat) which you can slip lengths of dead sticks in for stiffening. I used some slats I had lying around from a broken door. You can see the end of one sticking up on the top right of the third photo.
There are three horizontal pieces of fabric which hold the infated pad in the two positions, one at each end and one (nearly) in the centre. I sewed the centre one at each end but I think I will unpick one line of stitching (as it might not be necessary, then when I want to configure the chair as a bed I can slip the mattress underneath it which will pull the sides up more to create a bathtub effect. If I make the two webbing straps a little longer they can also be clicked together criss-crossed to accentuate this effect. I think I will need a piece of elastic around about where my knees are in the second photo to firm up the ‘bathtub’ effect there.
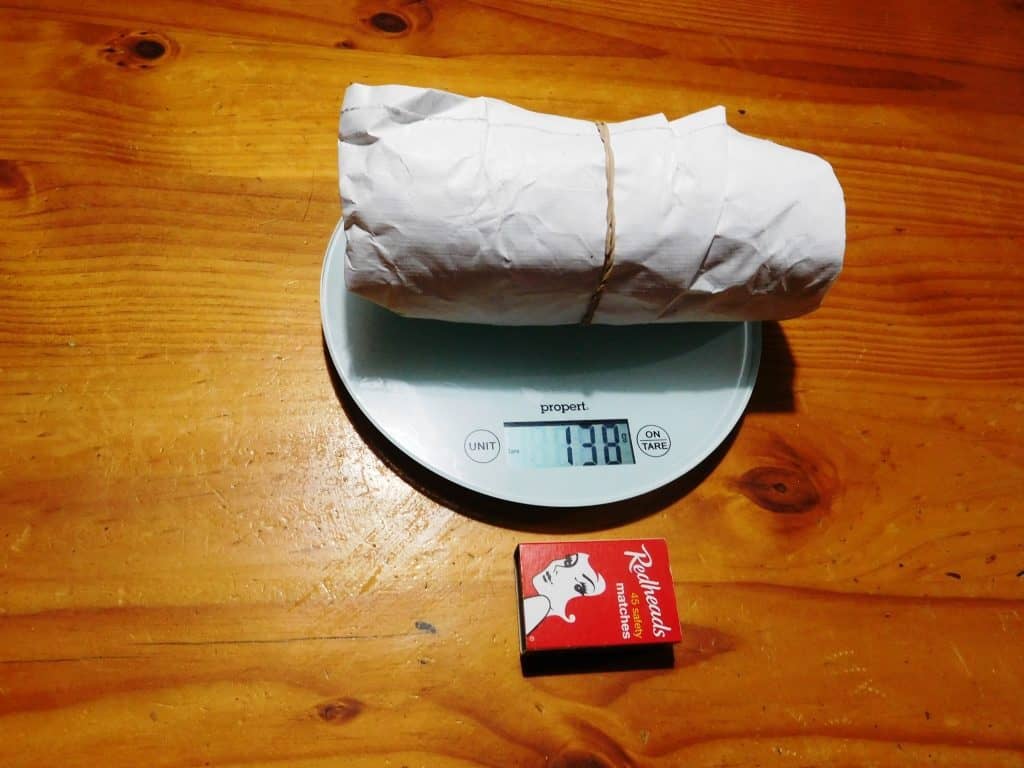
I am thinking 3.5 oz Dyneema for the sleeves and triangular tie-outs the webbing is attached to. A lighter Robic material might work well here. The bottoms of the back sleeves may need some reinforcing as that seems to be where the most stress occurs. I am thinking 1.3 oz silnylon for the floor. I know that this will wear through over time, but should last for many nights until then. You can also re-waterproof the silicon side as explained here: http://www.theultralighthiker.com/waterproofing-tent-floors-and-ground-sheets/ I am thinking that the completed chair will weigh perhaps less then 90 grams! As you can see the prototype weighs 138 (but that is with 1.85 oz/yd2 Tyvek and 3/4″ buckles and webbing instead of 1/2″).
I am going to add ‘pockets’ on each side to the completed chair in the vicinity of the elbows when lying on your back. These can be filled with clothing, grass, leaves or closed cell foam so that your arms are up off the freezing ground. I envisage this will add less than 10 grams and still preserve the ‘bathtub’ effect.
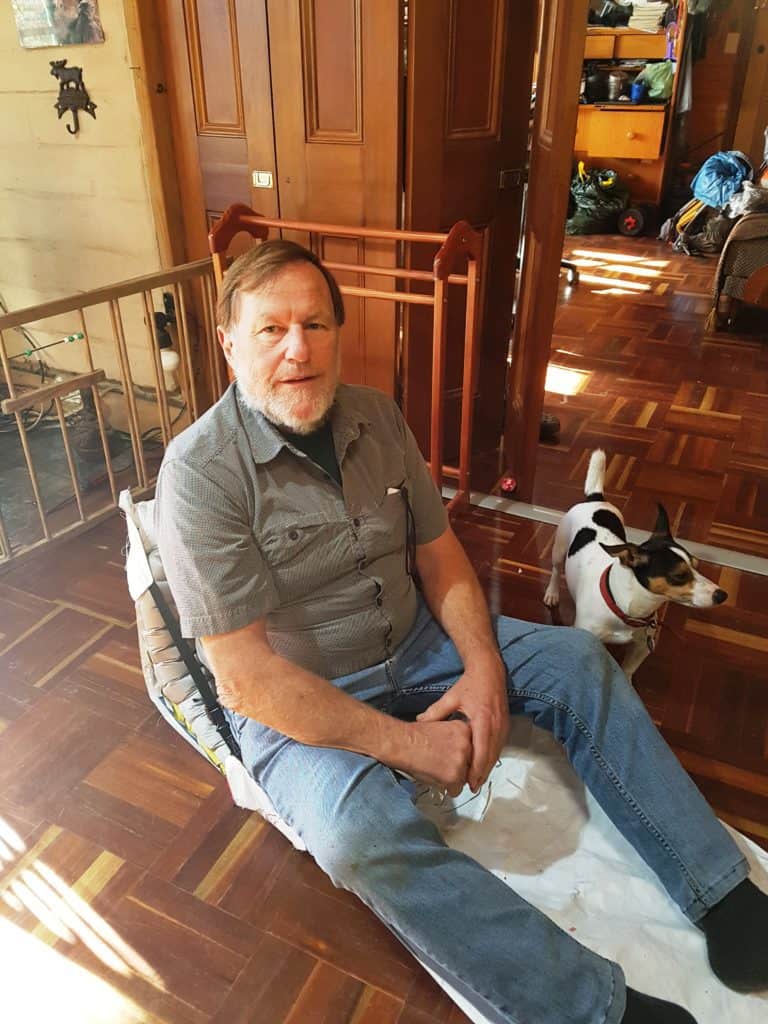
Ready for bed:
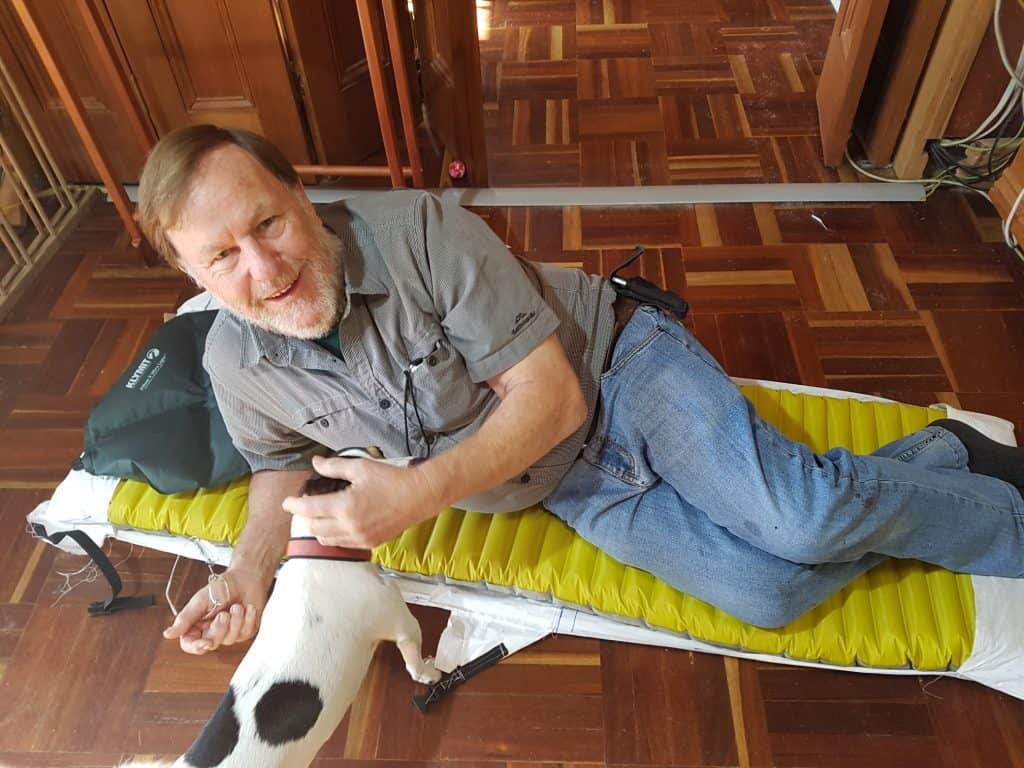
Detailed view:
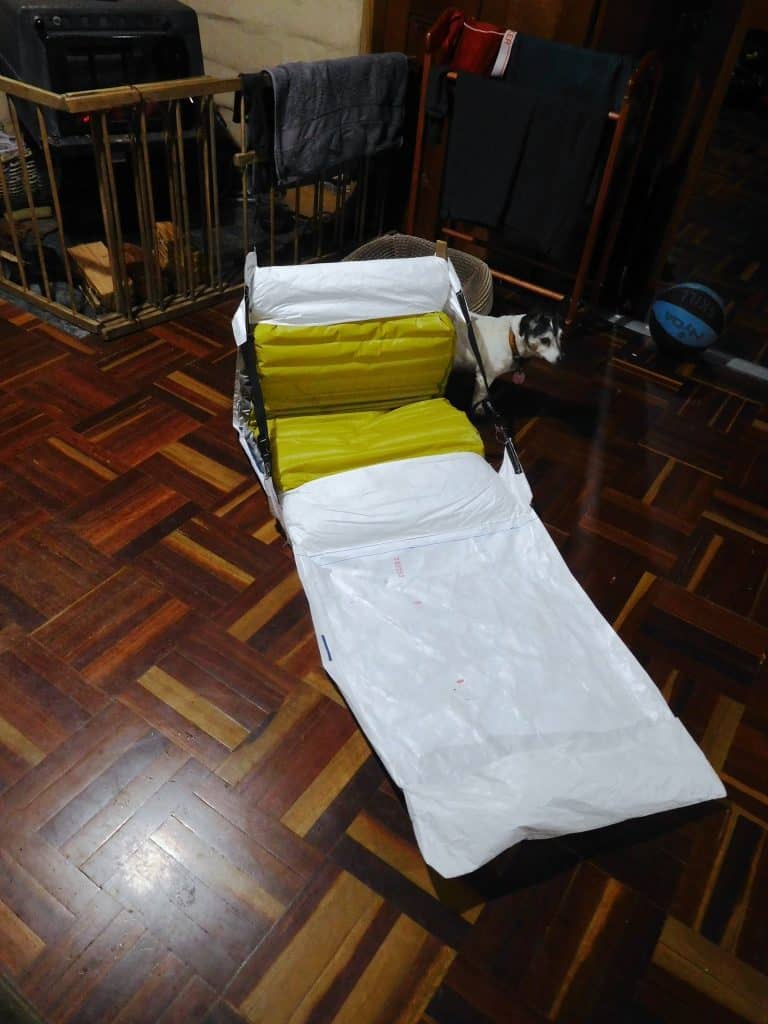
Prototype size and weight:
You can see how unpicking the middle horizontal (which made no difference to the performance of the chair) pulls the sides up in groundsheet mode. Clipping the webbing diagonally will also help. 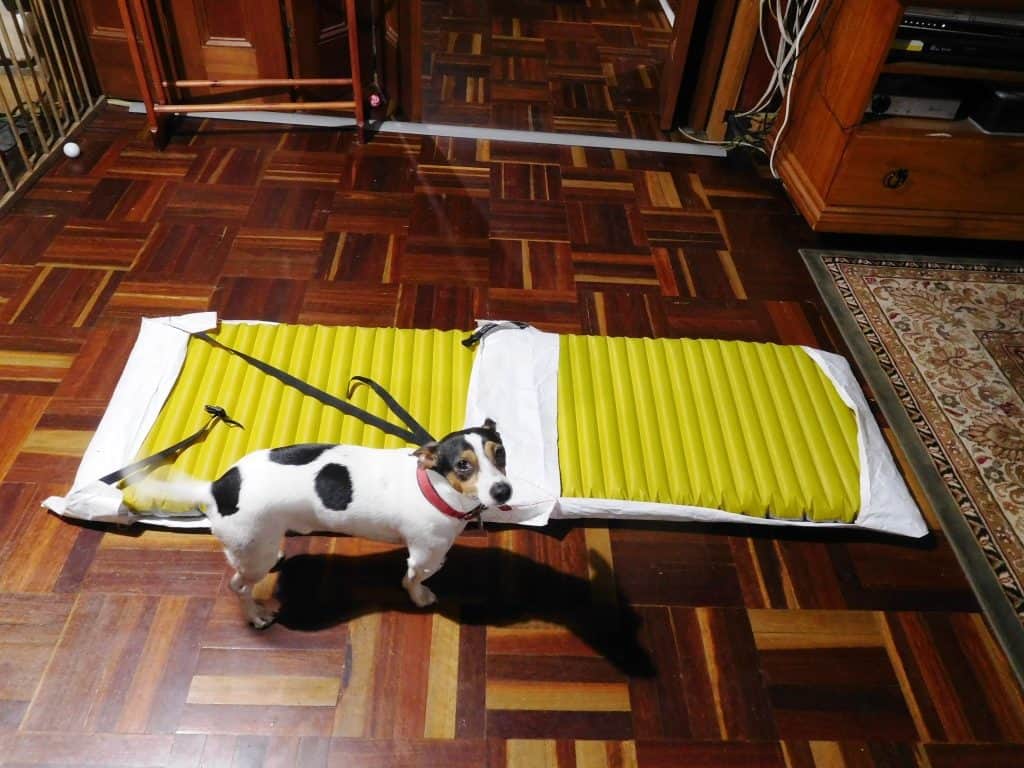
It’s quite comfy too if you configure it as a lounger like this. The Klymit Ultralight Pillow (http://www.theultralighthiker.com/klymit-ultralight-pillow/) can be used as a seat to boost height if required:
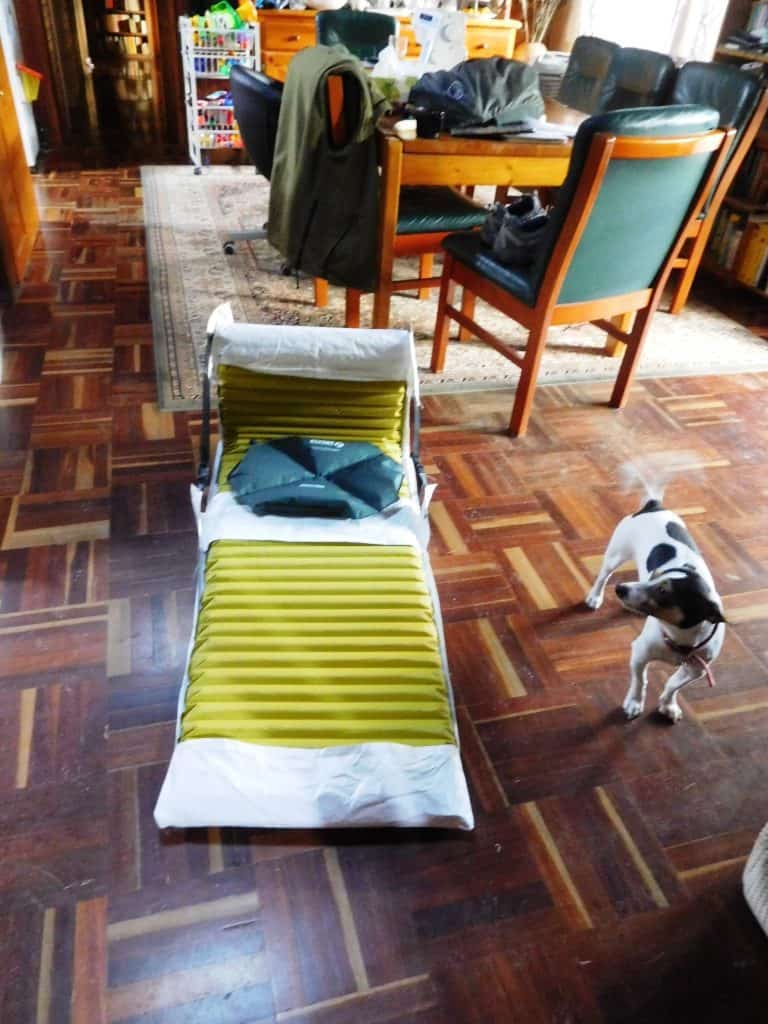
PS: Only the back sticks seem to be necessary, though the bottom sticks may add some minimal comfort. I will experiment with this. If so, I can reduce the weight by omitting the bottom sleeves.
See Also:
http://www.theultralighthiker.com/inflatable-bathtub-groundsheet/
http://www.theultralighthiker.com/ultralight-chairgrounsheet/
http://www.theultralighthiker.com/tarp-bathtub-groundsheet/
