Over the years we have made lots of hammocks, but we would have made a better job if we had followed some expert instructions. The following instructions and photos were kindly provided by Simon McGuire at Tier Gear, Australia’s own Hammock and Tarp manufacturer and Outfitter. See them for all the materials needed to build this and many other projects. If you do not feel up to building your own, you can purchase the completed items at a very reasonable price and with speedy delivery for your next big trip. This looks to me to be a very sound lightweight hammock and tarp duo – see: http://www.theultralighthiker.com/make-your-own-tarp-or-hammock/ which should serve you well on many a camping/hunting trip. I am particularly impressed by the suspension system: the continuous loop which allows a gear attachment hook inside the hammock is great and will prevent hammock failure. I have ordered some of these for my own hammock/s. NB: The fixed or adjustable centre line is a great addition to comfort too. It also allows somewhere for clothes to be dried or additional gear to be attached (a small glasses/phone bag, for example).
Tier Gear: http://www.tiergear.com.au/
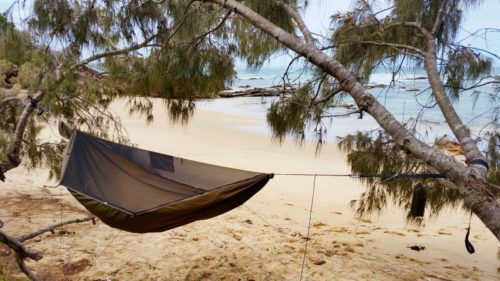
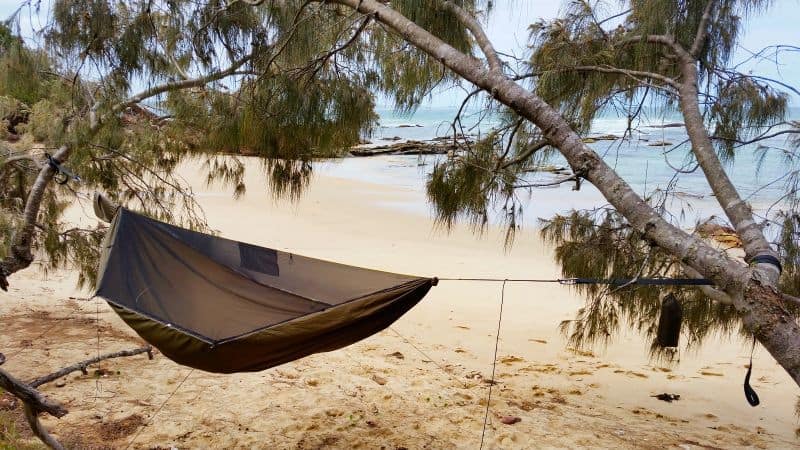
Above: the Goshawk hammock. This is what your completed hammock should look like (minus the insect netting).
‘Part 1 – Sewing the hammock body
Tools required:
a. Sharp scissors or rotary cutter
b. Fabric marking pencil or similar
c. Measuring tape or ruler
d. Long straight edge
e. Sewing machine
Materials used:
- A good quality polyester or nylon fabric. In this instance I used Argon 1.6 which is a ripstop nylon designed specifically for hammocks.
- Good quality sewing thread. Gutermann’s Mara 70 would be a popular choice for the DIYer as would Rasant 75.
Procedure
- Cut your fabric to the length you require, taking into account the end channels and some loss of length when you gather the hammock. For a 3.3metres length hammock I start with 3.6 metres of fabric, as my end channels take up 100mm at each end and there is also some loss when the hammock is gathered. Fabric width is usually around 1500mm.
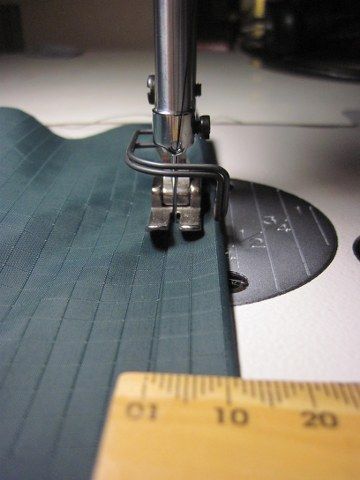
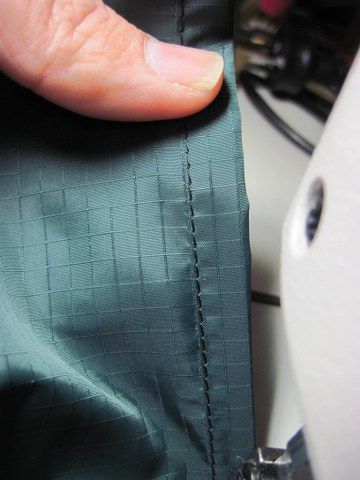
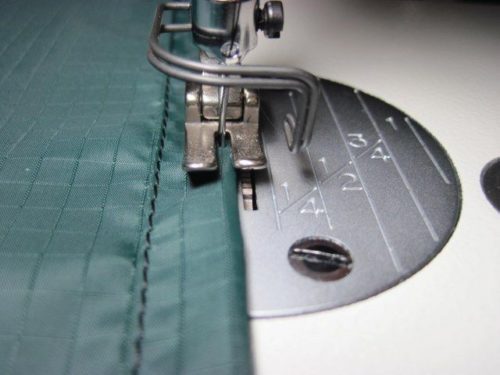
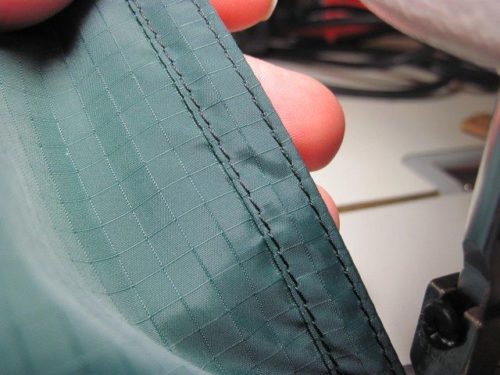
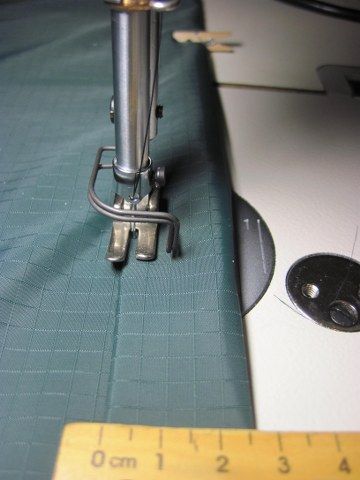
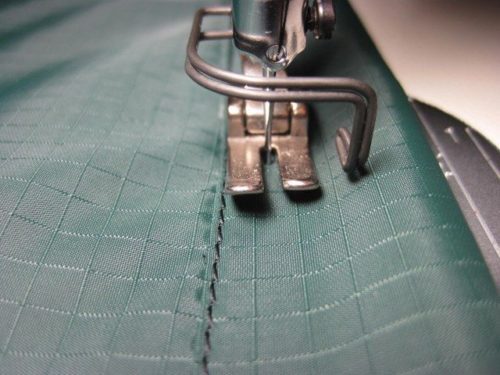
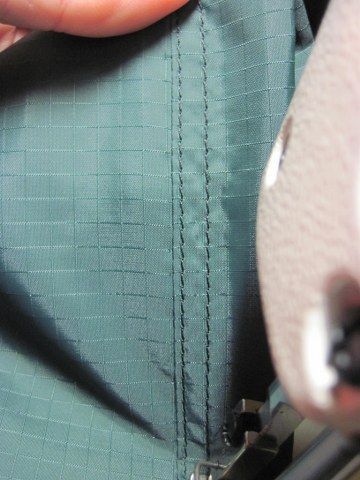
- Sew a rolled hem along both long sides. Start by folding the edge over once, and then over again. My hems are usually around 10mm in width but you can go bigger or smaller. Start by sewing along the inside edge of your hem. A single line of stitching is adequate but a second line of stitching adds a professional touch, and some extra reinforcement to your hem. The second line of stitching should be just inside the outside edge of the fabric.


- Repeat Step 2 on the other side of your fabric. Once finished the hem on both sides it’s time for the end channels to be sewn on the short sides of the fabric.4. There are a number of ways to sew the end channels. I measure down 100mm from the end of the fabric and mark a line across the width of the fabric. I then take the end of the fabric and fold it over so that it is a couple of mm before the marked line. Now I fold the end of the fabric over again to just past the raw edge and this time right on the marked line. This hides the raw edge inside the channel, and gives you four layers of fabric making up your channel at a width of about 25mm. If you are going to use the end channels to run your suspension directly through then this end channel may be made larger if required.5. Now you are going to sew the end channel down. Depending on how you are going to gather the hammock you will need to sew at least 2 lines of stitching, though 1 would be adequate, or 3 if you are going to run the suspension through the channel and hence making the stitching on the end channel weight bearing. I do not run the suspension through the end channel so I only sew 2 lines of stitching.6. Sew the first line of stitching along the inside edge of the end channel, and then the second line of stitching 4-5mm inside of the this. This second line of stitching ensure you capture the raw edge of the fabric inside the end channel.


- Repeat steps 4-6 at the other end of the fabric.8. Congratulations that is your hammock body sewn. Basically I could have broken it down to: sew a rolled hem on both long sides, then sew a bigger rolled hem along the short sides and then gather – job done! It really is that simple.
Part 2: Gathering the hammock, and attaching the suspension
Once your hammock is sewn the next step is gathering the ends. There are numerous ways to do this, including methods which don’t require the sewing of end channels in your fabric but I will leave those methods to people who have experience with them. These methods require the sewing of an end channel as detailed in part 1 of making a net-less camping hammock.
Essentially when gathering the ends of your hammock, you are simply inserting something through the channel and tightening it in order to essentially a ball of fabric.
Method 1:
The first method involves running your suspension directly through the channel e.g. your whoopie sling or continuous loop, and cinching tight. This produces a clean looking finish, and is the method probably most commonly used by camping hammock manufacturers. This method places stress on the end channel stitching so you want to ensure you lay down some solid stitches, and have at least 3 parallel rows using quality sewing thread. It is not recommended for lightweight fabrics, where failures have been known to occur. It also produces a consistent gather of the hammock without much fuss.
If attaching a whoopie sling insert the fixed loop through the end channel
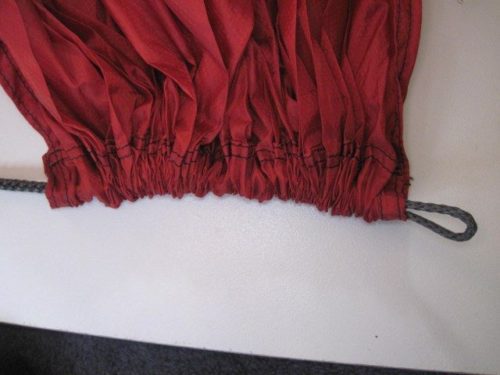
Run the adjustable loop of the whoopie through the fixed loop
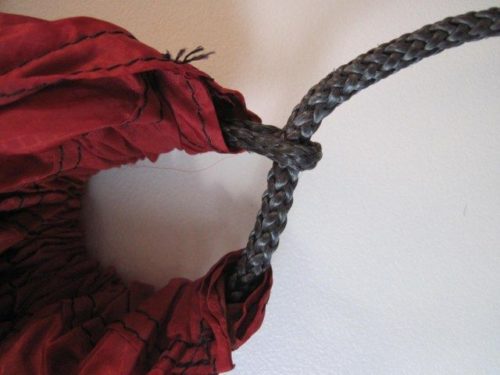
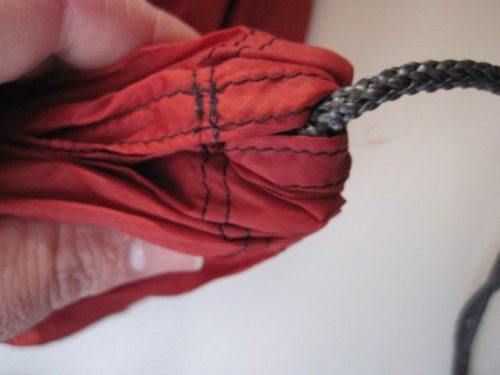
Cinch tight and you are done. (Note: in the photo below there is only 2 rows of stitches, 3 are recommended for this method)
Method 2:
This method involves running a cord, or some people use a cable (zip) tie, to gather the ends. Your suspension, e.g. whoopie sling or fixed loop, is then girth hitched over the hammock fabric below the gather you have just created. The gather prevents the suspension from slipping off the end of the hammock. This method does not place any stress on your end channel stitching, and is fine to use on lightweight fabrics as well as heavier fabrics. There is some minor fiddling required when attaching your suspension to ensure a consistent gather of the fabric. If you like being able to change out your suspension quickly or play with different setups this is the method for you.
Insert cord through end channel. In this instance I am using 2mm VB cord.
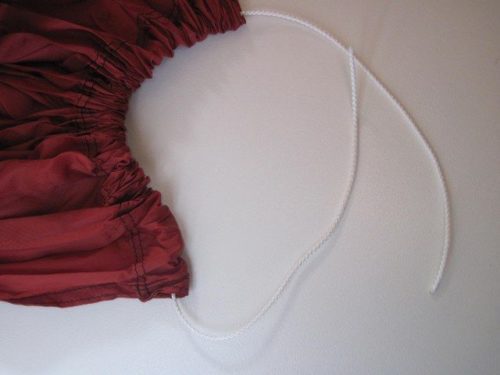
Next you can tie a knot as per Knotty’s method on Hammock Forums, insert a cable (zip) tie, or use a small cord lock as I have done below.
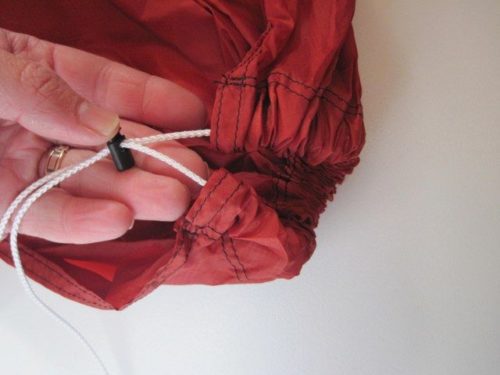
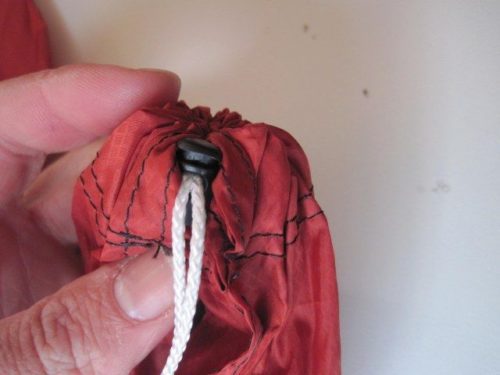
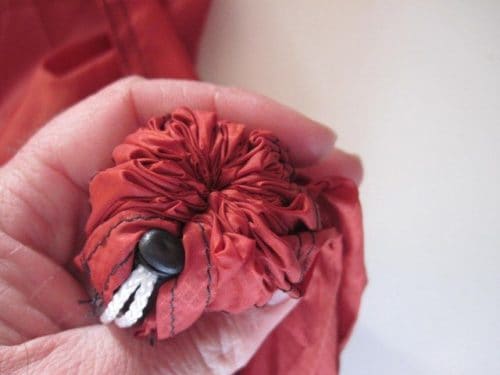
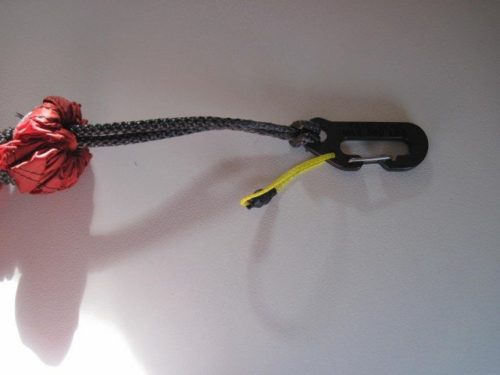
The cord lock method leaves a length of cord, depending on how long you cut it, I use around 600-650mm, which you can attach a mitten hook to the end and this gives you an attachement point for a peak bag, pillow of whatever you want at the ends of the hammock.
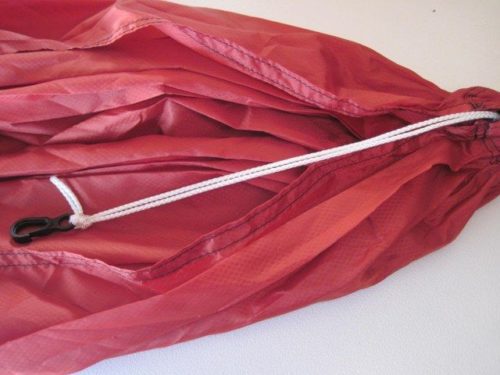
Next you need to attach your suspension by girth hitching to the fabric below the gather. If using a whoopie sling you simply run the adjustable loop of the whoopie sling through the fixed loop of the whoopie, and cinch tight. You may need to move the fabric around a little to ensure the fabric is gathered consistently.
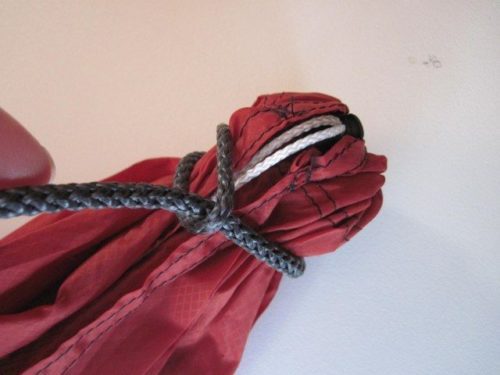
You can run the suspension over the top of the gather as per below,
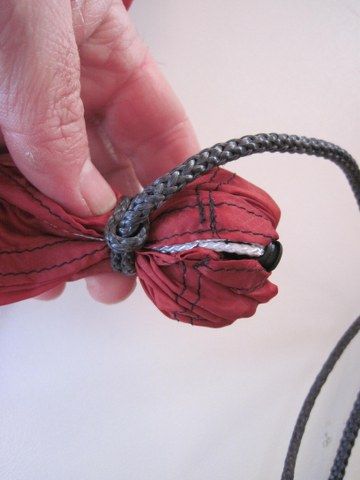
or run your suspension through the middle of the gather as per the photo below
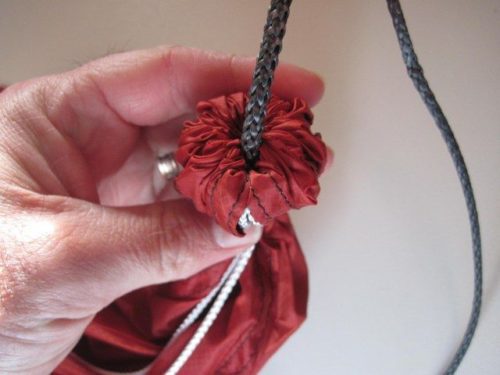
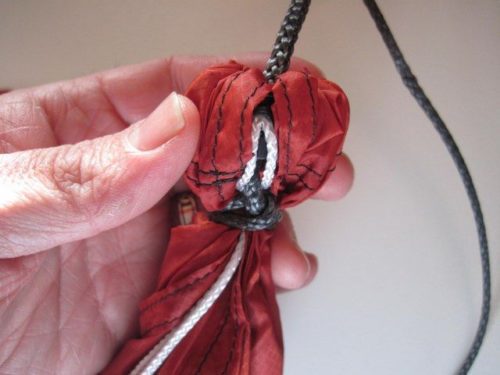
Rather than attach the whoopie sling directly to the hammock, another option is use a continuous loop which allows you to disconnect your whoopie sling from the hammock, or allows you to easily change between whoopie slings or webbing based suspensions. Another advantage is if the distance between your two anchor points is too close then the loops can be attached directly to your tree straps through the use of a marlin spike hitch.
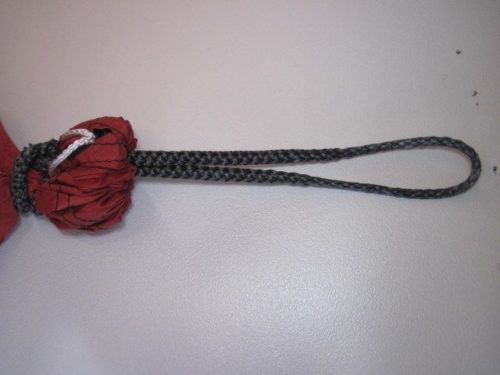
Whoopie hook spliced onto whoopie sling adjustable bury and attached to continuous loop.
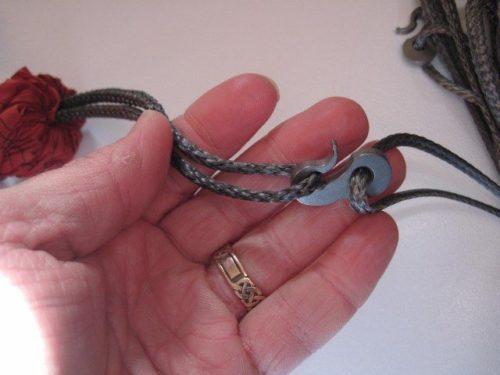
Loop girth hitched to titanium cinch buckle for webbing suspension
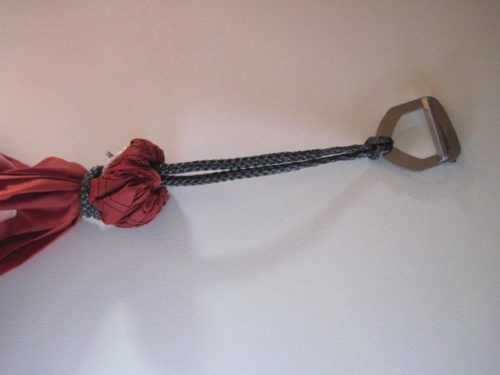
Loop attached to TATO biner, Whoopie sling adjustable bury attaches to biner.
There are many options when making hammocks, and those options listed above are but a few.
Happy hanging.’
See also:
http://www.theultralighthiker.com/diy-netless-hammock/
http://www.theultralighthiker.com/make-your-own-tarp-or-hammock/
http://www.theultralighthiker.com/hammock-camping-double-bunking/
http://www.theultralighthiker.com/hammock-hunting-till-dark/
Other hammock related posts:
http://www.theultralighthiker.com/a-hummingbird-in-the-hand/
http://www.theultralighthiker.com/adjustable-hammock-ridgeline/
http://www.theultralighthiker.com/continuous-loop-another-great-hammock-idea/
http://www.theultralighthiker.com/whoopie-slings-what-a-great-idea/
http://www.theultralighthiker.com/side-insulation/
http://www.theultralighthiker.com/hammock-pad-extender/
http://www.theultralighthiker.com/diy-netless-hammock/
http://www.theultralighthiker.com/klymit-hammock-pad/
http://www.theultralighthiker.com/make-your-own-tarp-or-hammock/
http://www.theultralighthiker.com/hammock-camping-double-bunking/
http://www.theultralighthiker.com/hammock-hunting-till-dark/
http://www.theultralighthiker.com/all-in-one-hammock-tent-poncho-backpack-at-1-2-kg/
http://www.theultralighthiker.com/laybag/
http://www.theultralighthiker.com/all-you-ever-need-to-know-about-tarps/
http://www.theultralighthiker.com/tier-gear-catenary-cut-hex-tarp/
http://www.theultralighthiker.com/900th-post/
http://www.theultralighthiker.com/sleeping-pad-reinvented-big-agnes-q-core-slx/
http://www.theultralighthiker.com/modifyingshortening-hiking-mats/
http://www.theultralighthiker.com/catenary-cut-tarp/
http://www.theultralighthiker.com/thermarest-speedvalve/
http://www.theultralighthiker.com/hole-less-ponchoshelter/
http://www.theultralighthiker.com/hammocks/
http://www.theultralighthiker.com/hammock-camping/
http://www.theultralighthiker.com/the-ultralight-deer-hunter/
http://www.theultralighthiker.com/hunting-in-fiordland/

This is a fantastic tutorial.
I dont seam the long edges of my fabric as it is not nessecay.the plain selvage edge is good enough.
I also try to find 1.8m wide fabric.
I use the secon method to attatch my suspension to the hammick-best method ever.you can also run a simple hand stitched channel as there is no stress on the channel at all.
This means you cam make a hammock in the bush with nothing more than a simple hand sewing repair kit as long as you have the suspension .
I had to do just that in arrowtown after my keys fell out of my pocket and ripped the hammock to shredds-my custom made 6m long hammock-dam comfortable
Thanks for that John. Cheers, Steve.